Studio Monday with Nina-Marie: Stenciling 5 Ways

Hello crafters! I am super-excited to be bringing you a new Studio Monday tutorial featuring one of my favorite techniques; stenciling! In the video for today, I will share 5 different ways you can use stencils to make some fun effects on your cards. Let’s quickly highlight a of them before watching the video!
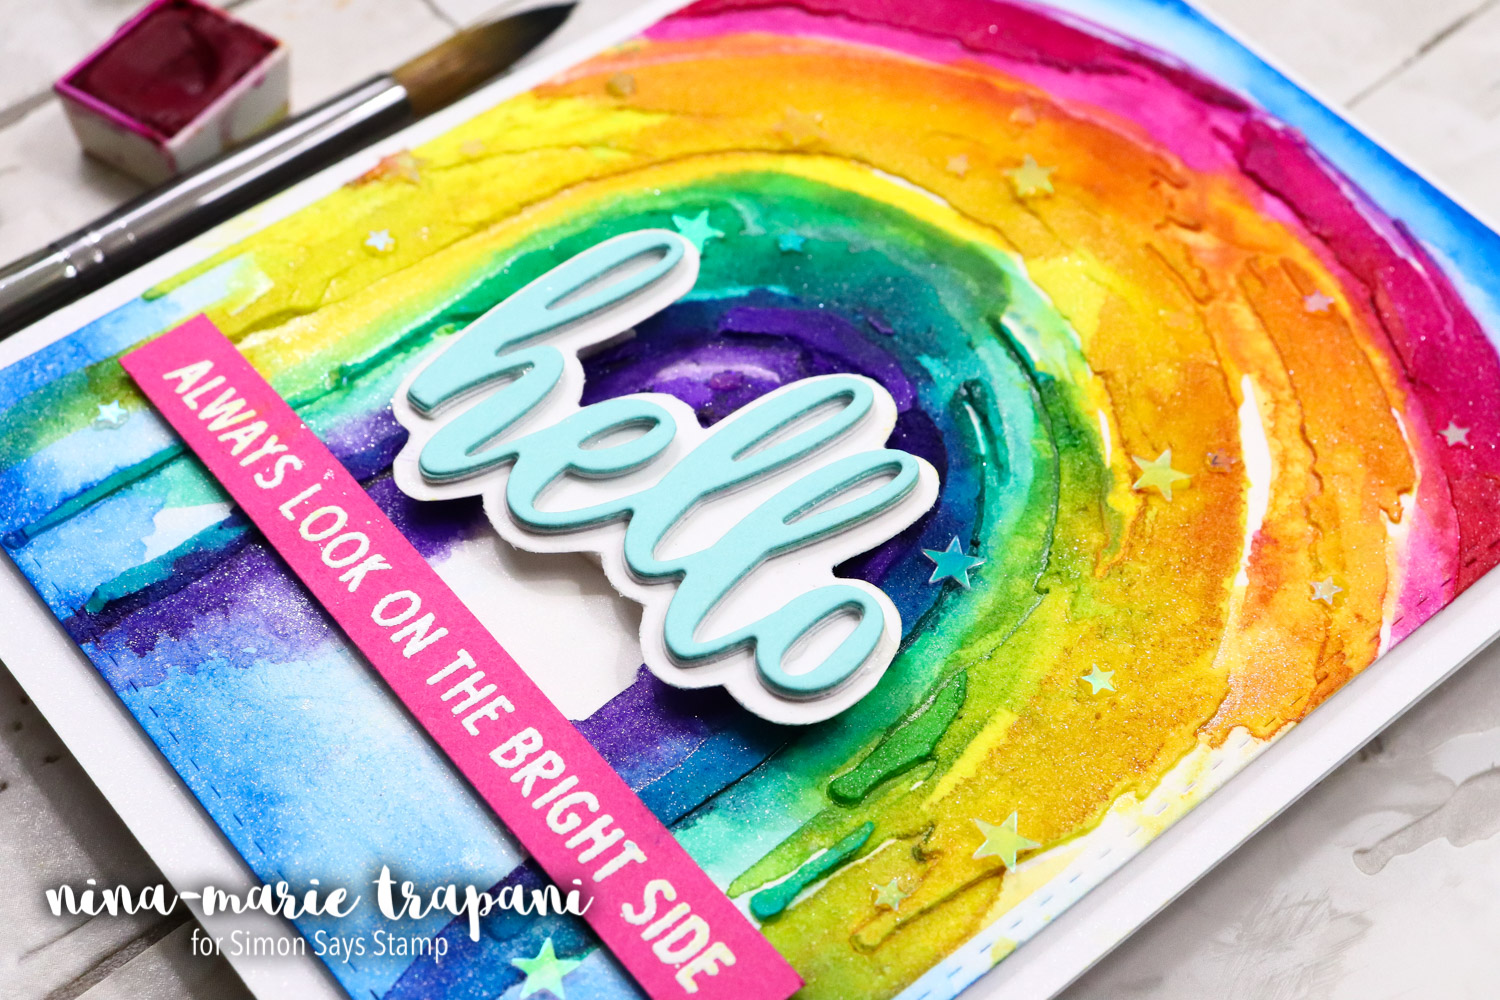
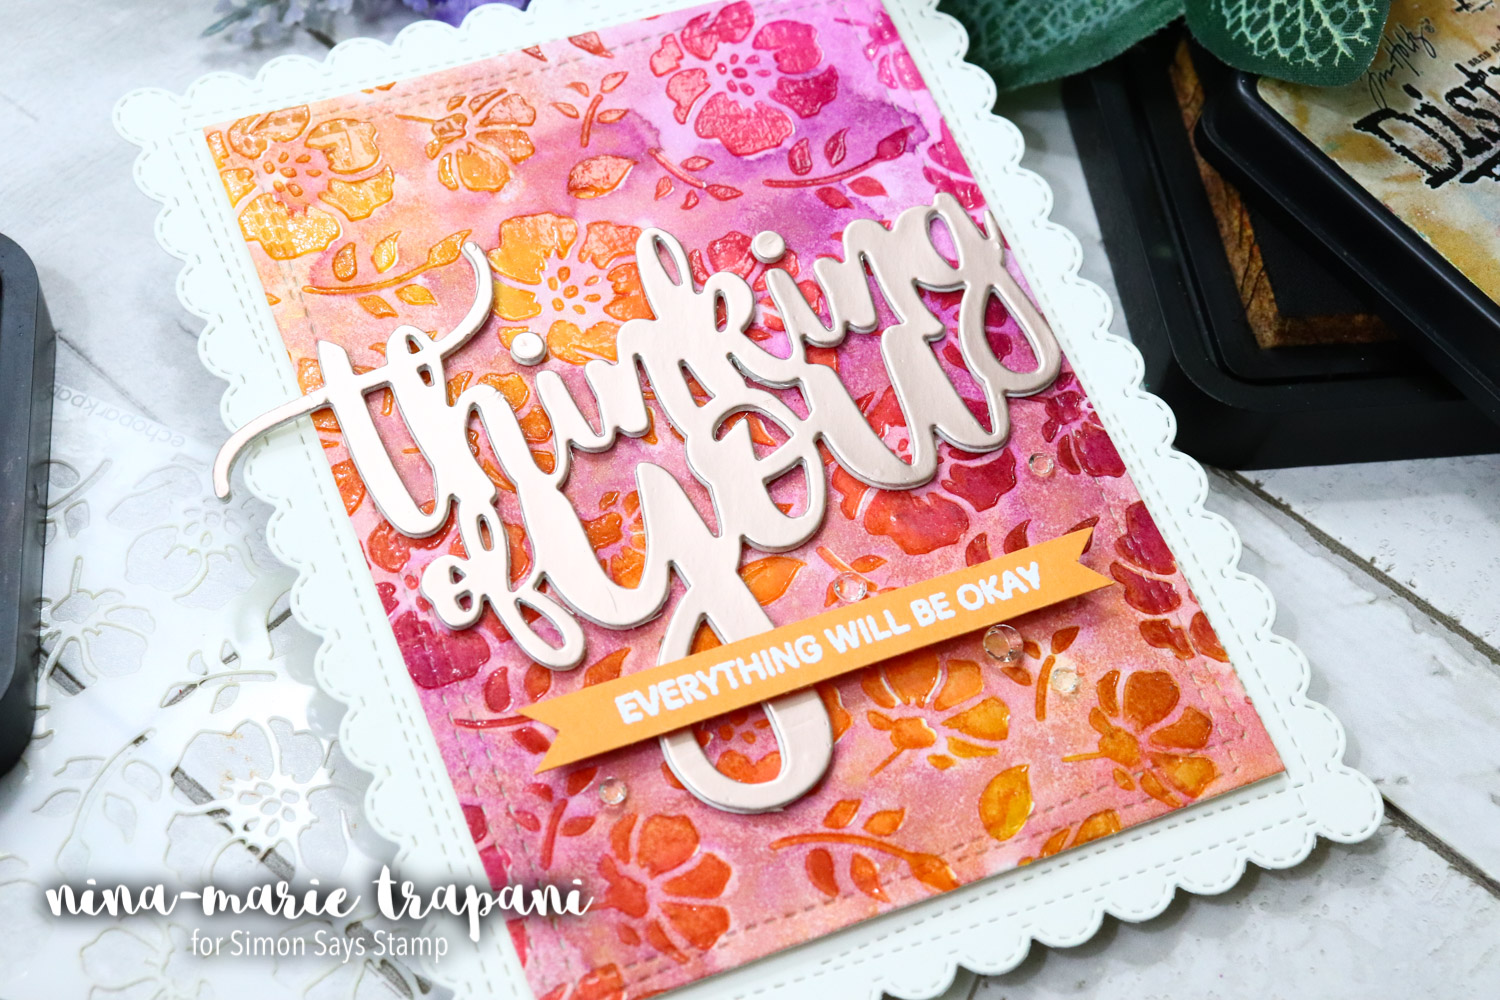
First up, we have stenciling with embossing paste; and to step it up a notch, I’ll show you how you can COLOR that embossing paste to get this stunning rainbow! The rainbow is a stencil from Stencil Girl called Little Painted Rainbow. Don’t you just love it? After applying my embossing paste through the stencil, I was really inspired to enhance the brushstroke effect with a bit of watercoloring!
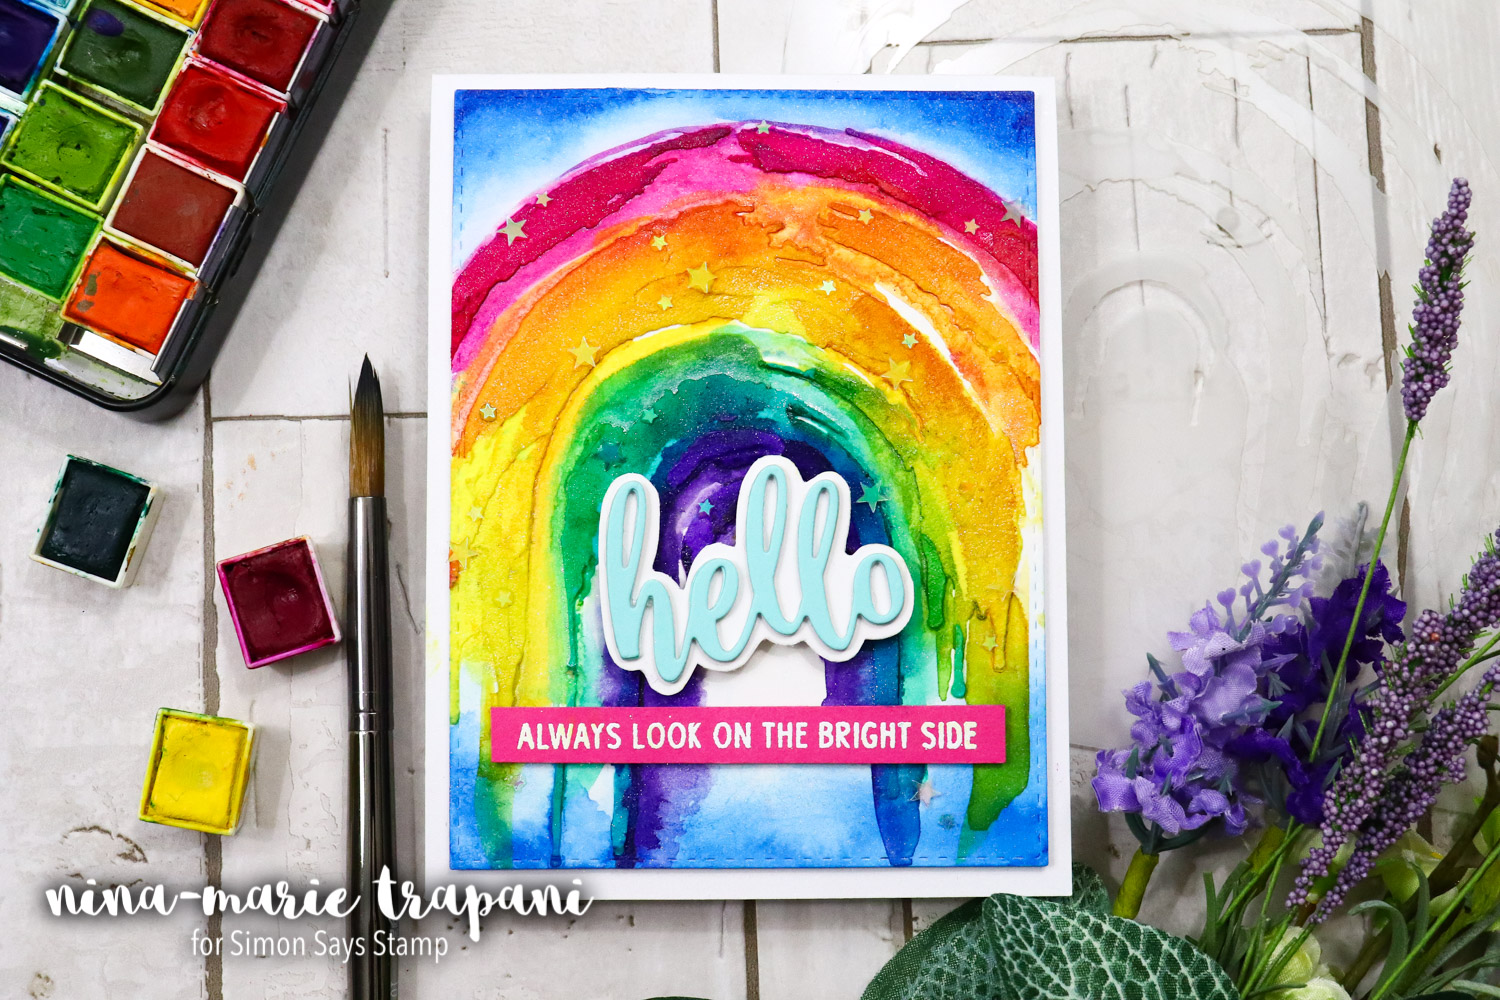
The sentiments I added are from My Favorite Things’ Hello and Thanks die set and Neat & Tangled’s So Many Sentiments stamp set. One of my favorite parts of this card are the tiny Iridescent Stars that “twinkle” on the rainbow!
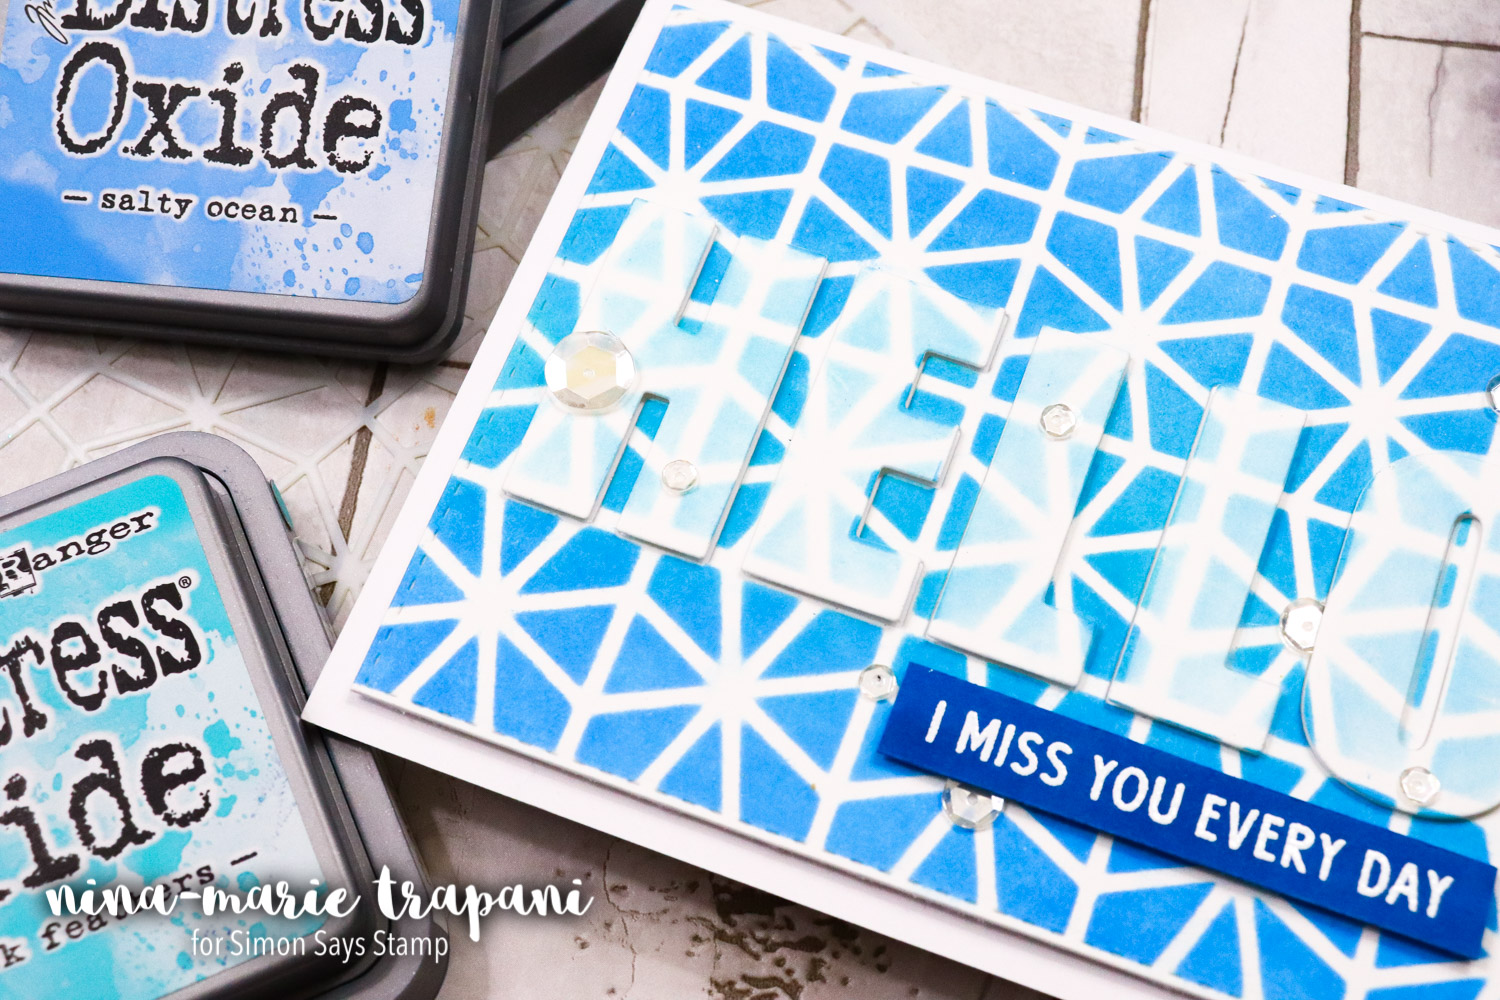
Next in the video, I’ll show you how to create a ghosted sentiment with stenciling. Can you see the “hidden” greeting in the stenciled pattern??
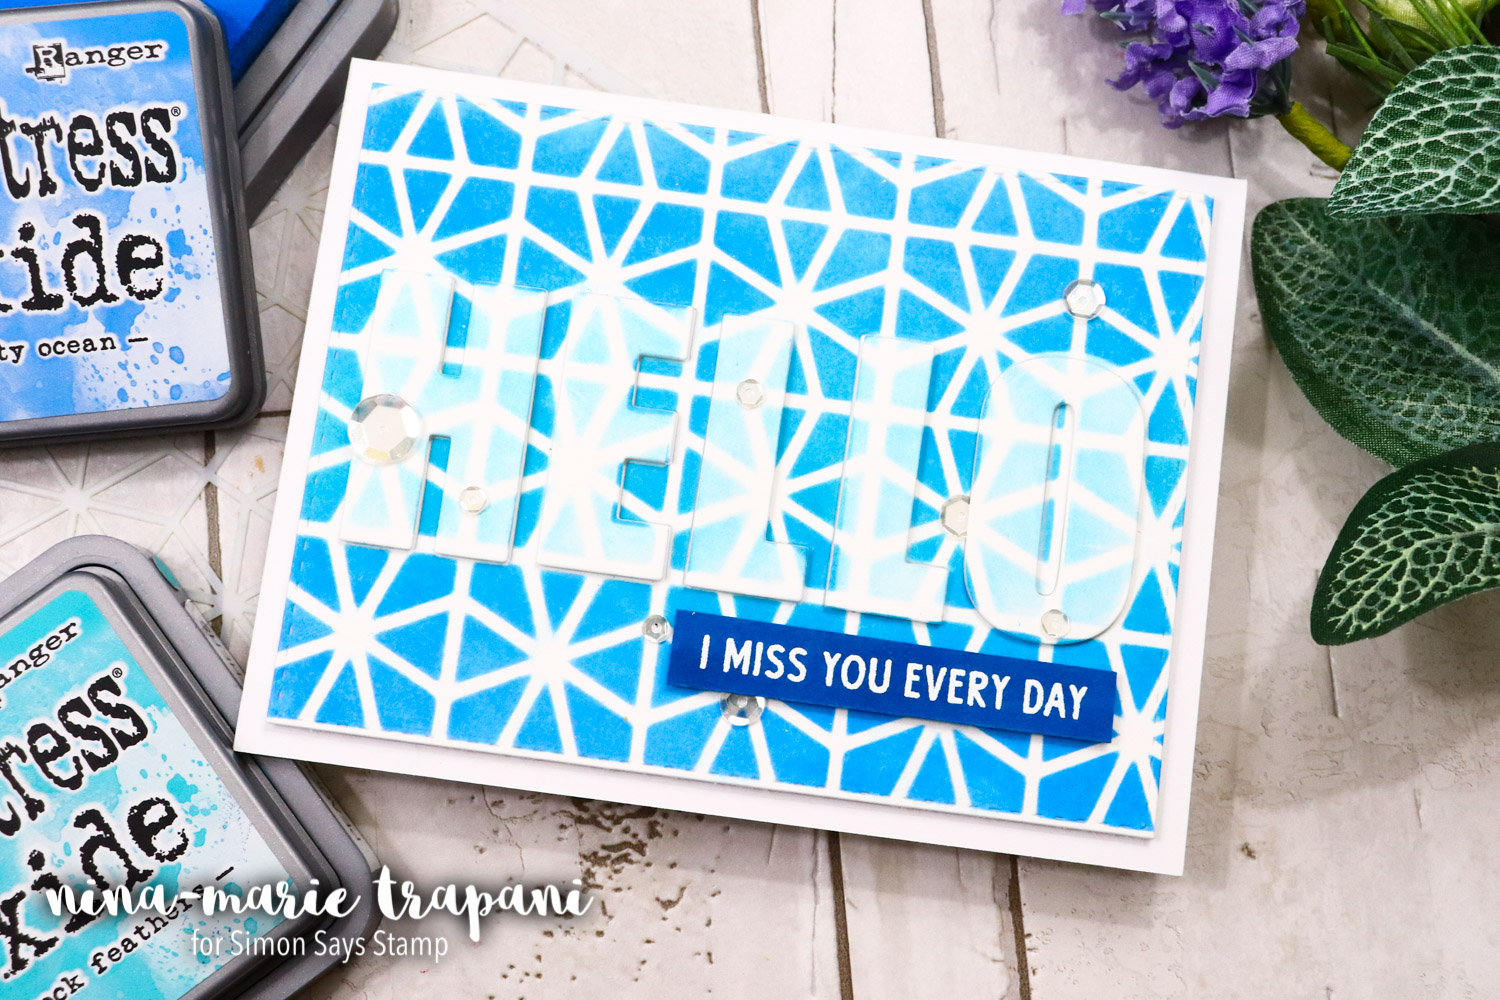
The letters that create the ghosted effect are from Altenew’s Bold Alphabet die set; the stencil design was Neat and Tangled’s Geometric Circles.
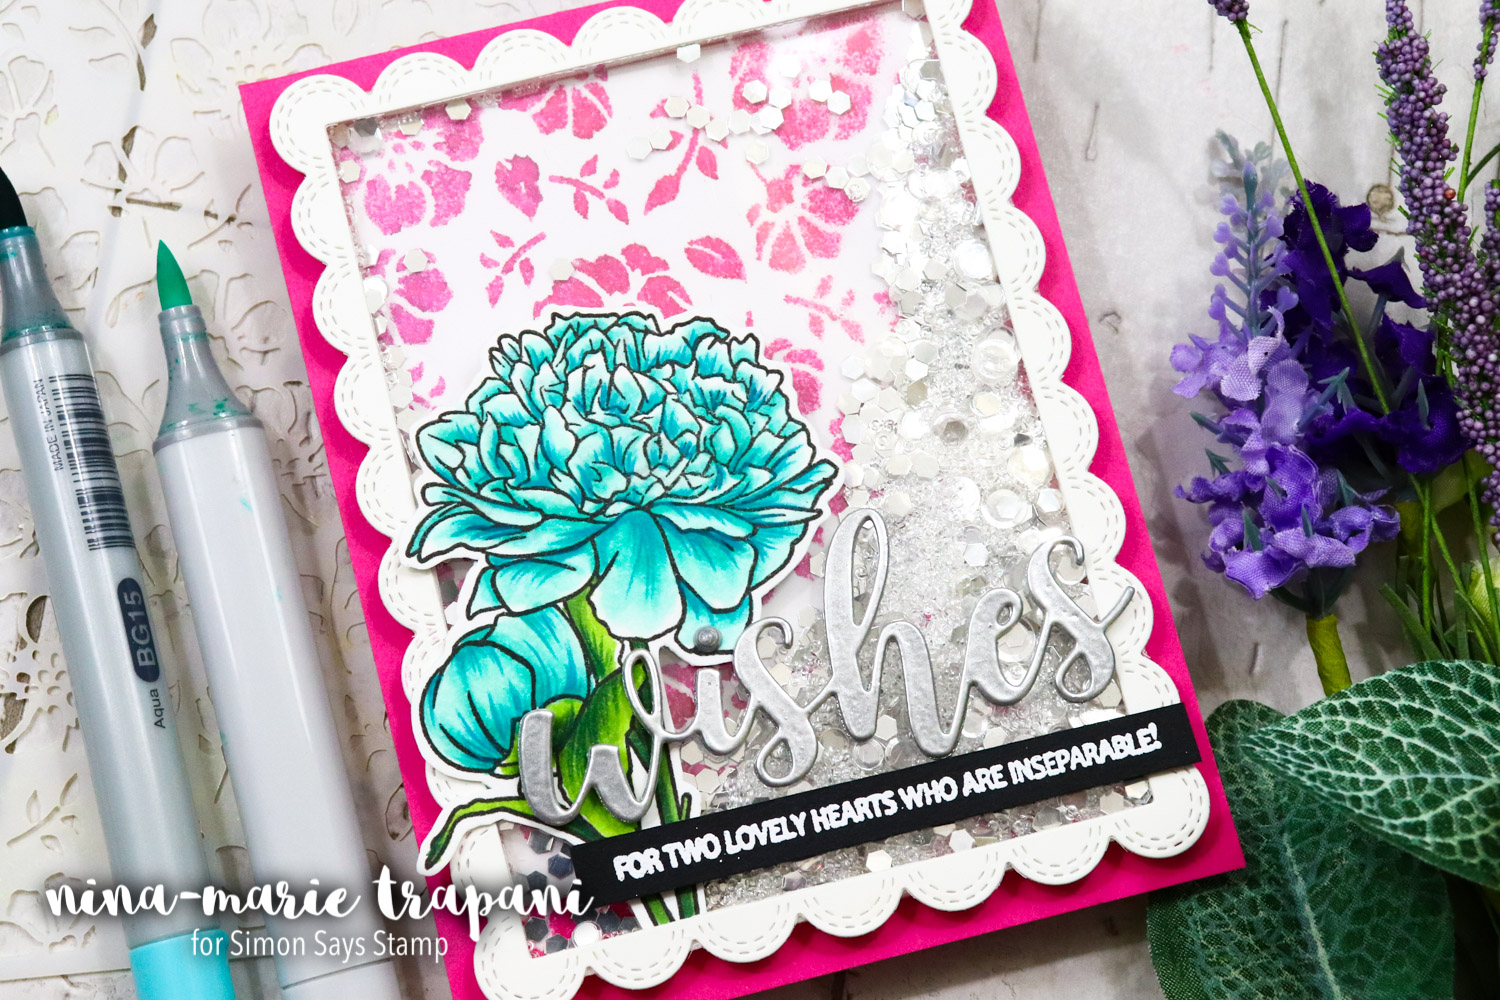
In the video I also shared a look at doing some ink spray stenciling – 2 ways! A clean and simple style like the background behind my shaker…
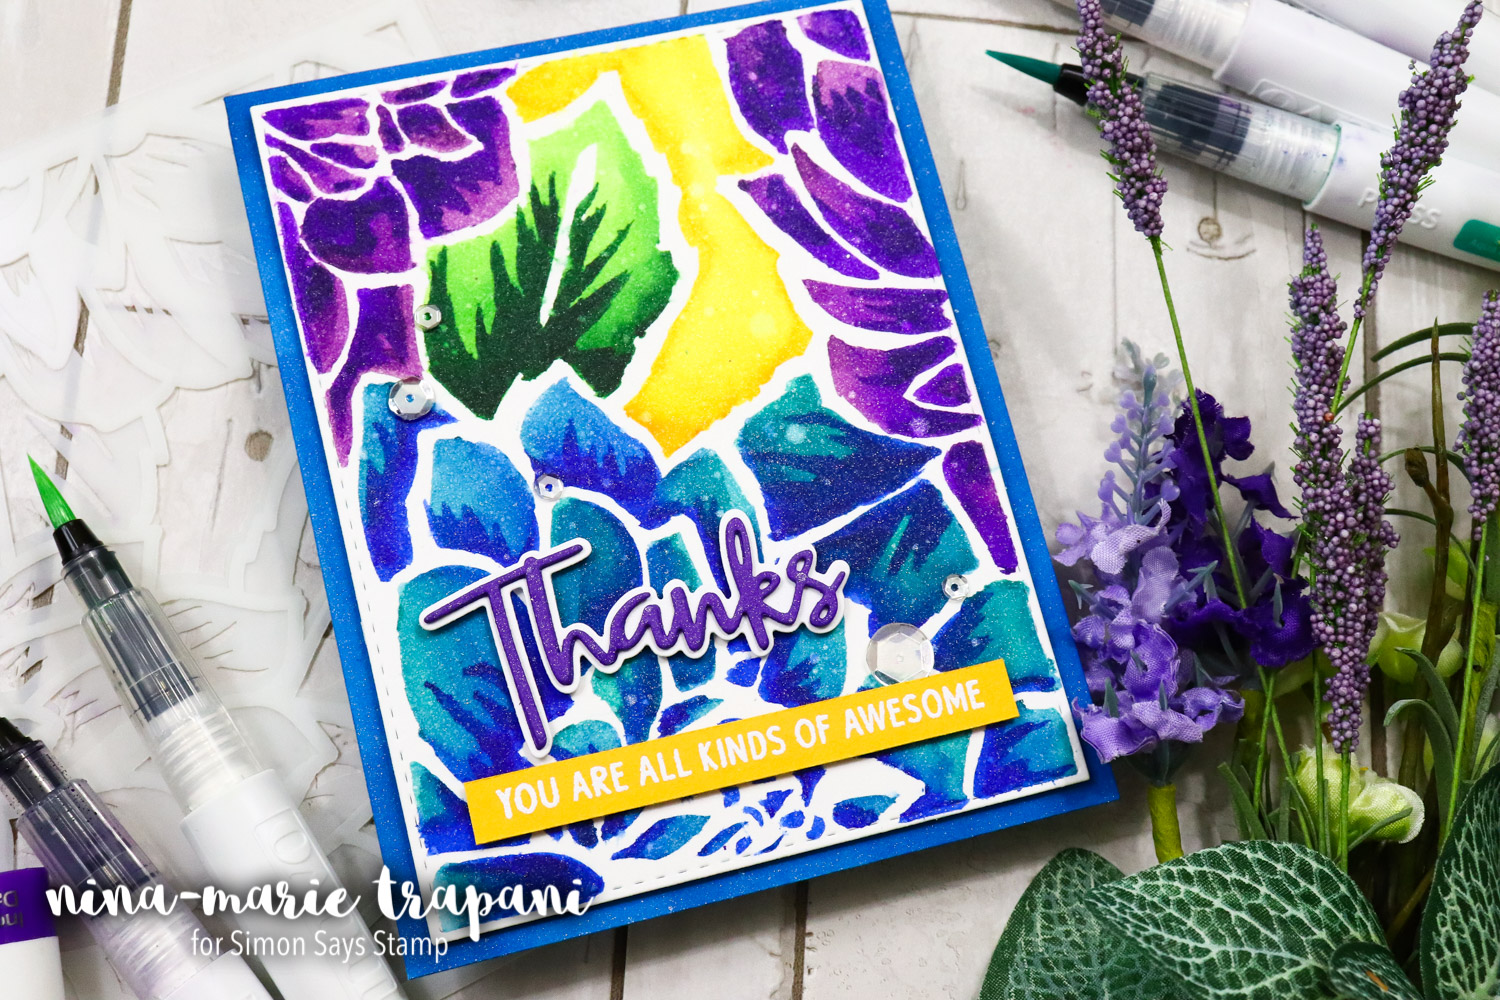
Or you can go wild and create something with a lot of interest and texture like this one!
Both have an awesome look and use Ranger Dylusionals ink spray. I enhanced the second card with Translucent embossing paste for extra dimension and texture.
Have you ever tried coloring with a stencil? It is another fabulous way to create a unique, stenciled effect! I recommend either tracing your stencil and coloring inside the traced lines, or use a medium that is not super-saturating. The trick is to not let a wet medium seep underneath the stencil and make a mess of your crisp lines. I’ll touch on this more in the video. For my card I used Tonic Studios Aqua Flow pens and colored directly through the Altenew Layered Dahlia stencils (there are two layering stencils).
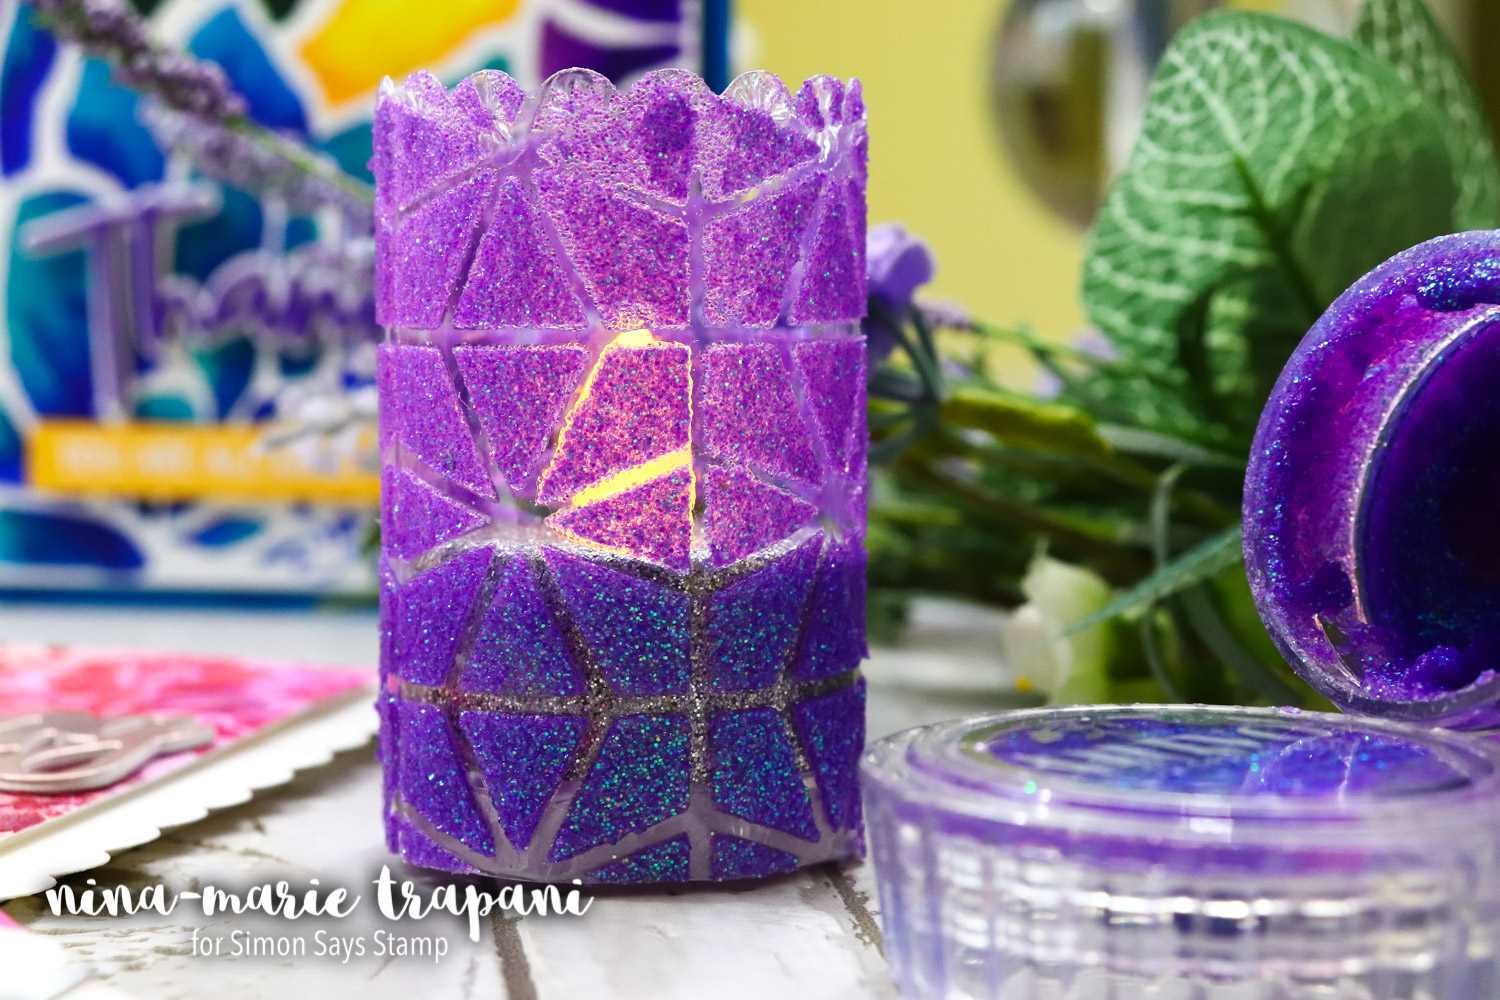
Finally, the last technique I will be sharing in the video is how to make a cute stenciled candle holder! With a bit of acetate and a translucent paste (I prefer glitter pastes for the translucency and shimmer!), you can make a stunning candle holder for a tea light very quickly. The hardest part is waiting for everything to dry!
Be sure to watch the video below to see all these techniques in action! :) I hope you enjoy and are inspired to do some stenciling on of your own! Thanks for stopping by, I’ll see you next week with a brand new Studio Monday!
WATCH THE VIDEO
SUPPLIES
|


Blog Candy Alert!! Follow our blog via email and comment on this post for a chance to win grab bags and blog candy! Remember to tag your awesome projects with #simonsaysstamp on social media so we can see what you are creating! 


love the candle holder, usually i leave the vellum as empty as possible, but this is gorgeous
WOW such great ideas!!!
Your tutorials are always so inspiring. Thanks for sharing your creativity with us.
I have never used a stencil this way. Off to dig out my stencils. I already follow by email.
I really enjoy your tutorials, Nina. You’ve always got such fun and creative ideas! I love the ghosted image especially! I’m going to give that one a try.
Great video! Lots of good ideas full of texture and colour! I’ll be giving these techniques a try.
As always, you have such amazing creation! Thanks for sharing!
Great projects with great ideas for using stencils! Will have to try these techniques.
Cool ideas for stencils!
These are such fun techniques, I will be giving some. of them a try.
What a fab mix of cards, thanks for the inspiration!
Nice and colorful!!
Great tips! I love a lot of texture!
Awesome Nine-Marie, Loved the video and the ideas, so cool and I really loved the candle, as always, thank you so much for your amazing ideas.
Thanks for sharing some great techniques. Your cards are lovely! Candle holder, too!
These are amazing! Look at all those beautiful bright colors. Such happy projects ♥
Totally awesome creations! Love all the bright cheery colors!
Such great ideas! Thank you!
Thanks for the nudge to dust off my stencils and get inky!
Lovely stenciling
and embossing. I
love the technique
used for the tea
light! I will be
scraplifting this
idea.
Carla from Utah
Wow–thanks for sharing all of these great stencil techniques.
These are great ways to use a stencil. Thank you Nina.
I love the bright bold watercolor rainbow card.
I dig that stencilling paired with those sentiment dies. On my list to do!!
This techniques are amazing! thanks for sharing!
I have vowed to start using my stencils more often and this tutorial goes a long way toward inspiring me! Love this!
Great projects and I love the tea light. Thanks for sharing.
Linda D.
Great projects with lovely techniques :) Thanks for sharing them with us :)
Amazing techniques. Thank you for all of the inspiration!!
Awesome video and great techniques! I’m looking forward to trying some of them! Thanks, Nina-Marie!
Great job Nina Marie, love to see all the stenciling and the idea’s you had for us. I love the second card with the ghosted effect and of course your gorgeous candle holder.
Thanks for all your time and effort.
Such creative cards.
Thanks for sharing all these techniques.youre talent is amazing.
Holy cow, I can’t believe all these techniques. I really li,e the rainbow with embossing paste.
Such beautiful cards! Really like the use of embossing paste for the rainbow, and the bold background of the fourth card!
Wow! Big, bold, bright colors. Thank you for sharing these techniques Nina-Marie.
AWESOME stencil ideas.
Very cool techniques!!