Brown Paper Packages (tied up with string) with Emma Williams
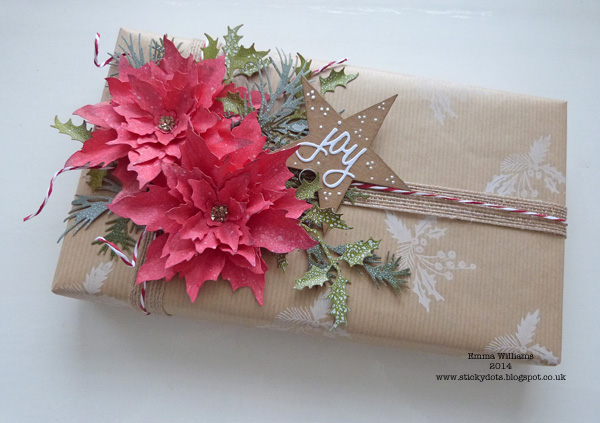
Hello everyone, Emma here and as we arrive in Christmas week, I thought I would show you some last minute gift wrapping ideas. As you can see below, mine is ready to place under the tree ready for the recipient on Christmas Day but when the big day is over, then why not use the basic ideas of this tutorial to create your own wrapping paper for birthdays or special occasions. All you need do is change the stamp design to suit the occasion and it would look beautiful with paper roses or other types of flowers arranged on the top of your parcel. The ideas are endless…
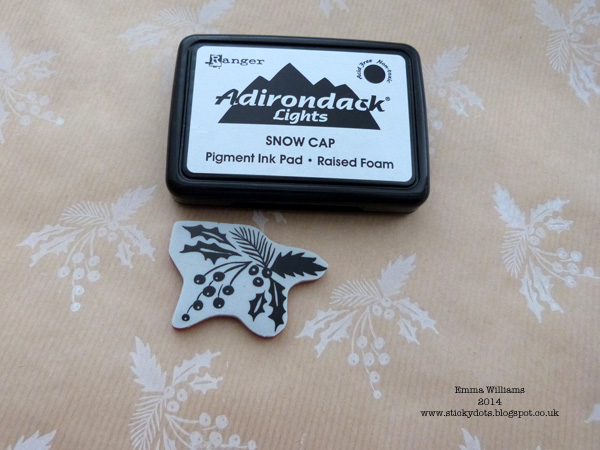
To begin with, I cut some brown kraft wrapping paper that would fit the size of my present and inked up the holly spray stamp from the Tim Holtz Styled Woodland stamp set using Adirondack Snow Cap Ink pad and stamped a continuous pattern over the sheet of wrapping paper.
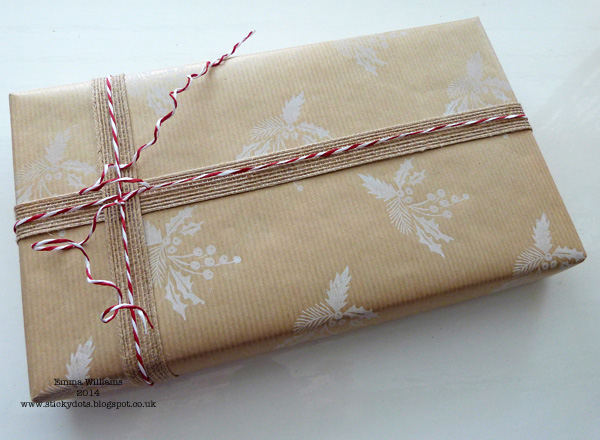
Once the ink is completely dry, then wrap up your present with the stamped paper. I then wrapped a piece of burlap ribbon and some striped paper string around the present.
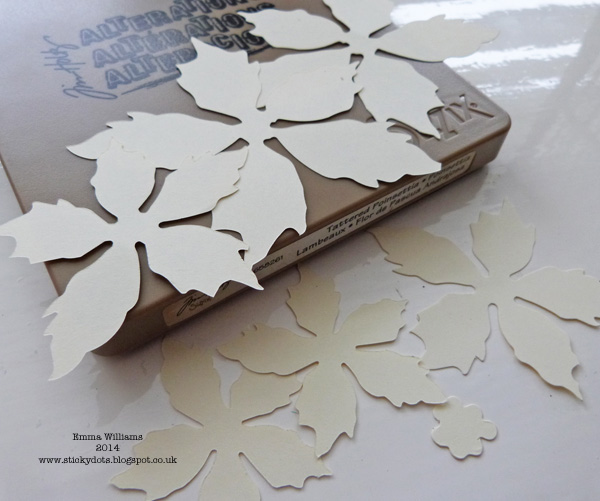
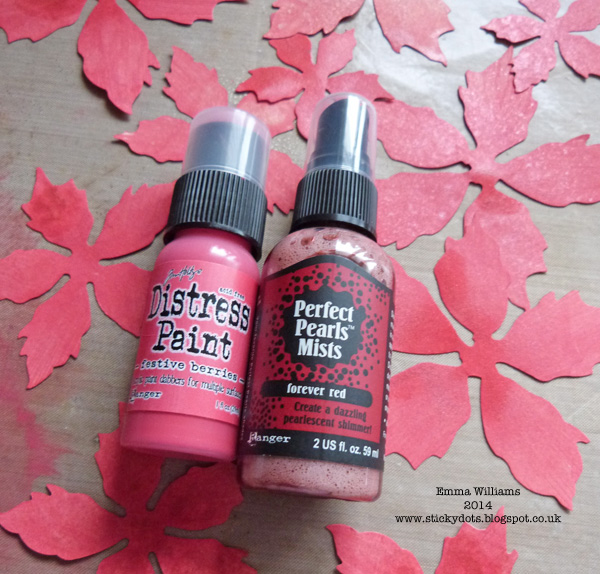
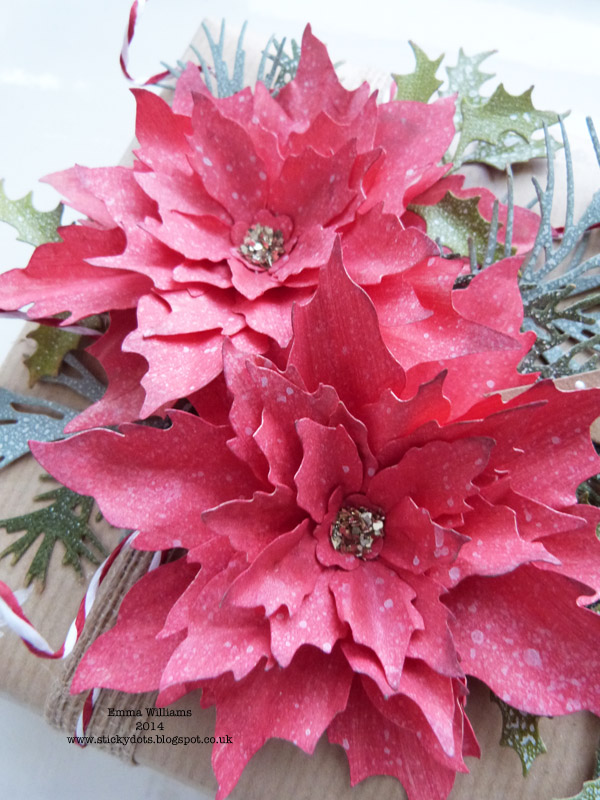
Now we need to create the floral arrangement for the top and for this, I used the Tattered Poinsettia die to die cut cream paper. You will need two of each of the various sized die cuts, (six in total) to create one flower, plus the centre die cut.
Using Festive Berries Distress Paint, colour the back and the front of each Poinsettia die cut. I used the Distress Paint for this as it gives a more substantial feel to the completed flower. Spritz the painted petals with Forever Red Perfect Pearls Mist.
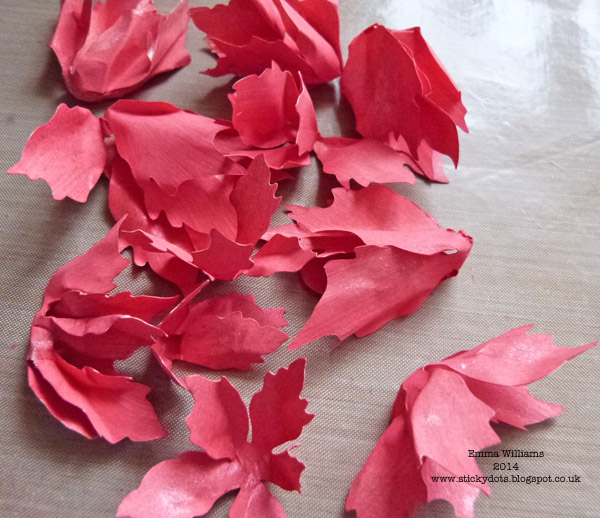
Whilst the petals are still slightly damp from the paint and spritz, scrunch each of them up and then using a heat tool, dry completely.
Open out each of the petals and layer them up, fixing each petal in the centre with a dot of adhesive and shaping the flower to create dimension.
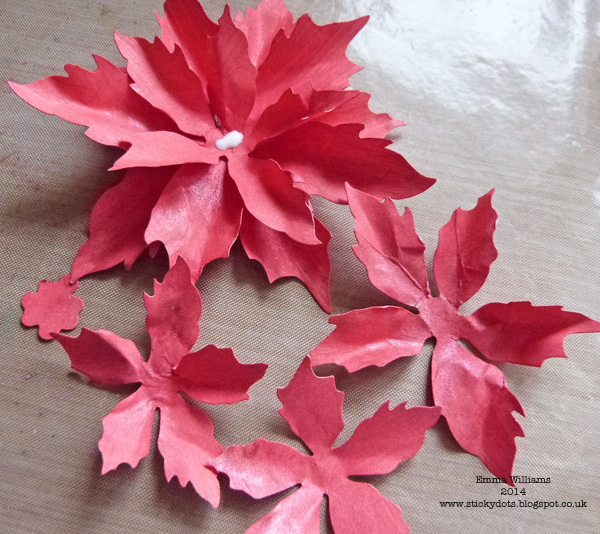
Once all six petals are layered, add the centre piece to create one complete dimensional. Repeat to make a second poinsettia.
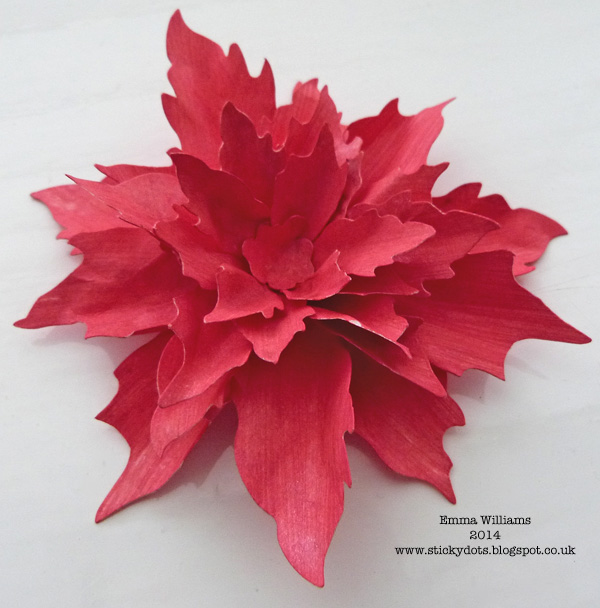
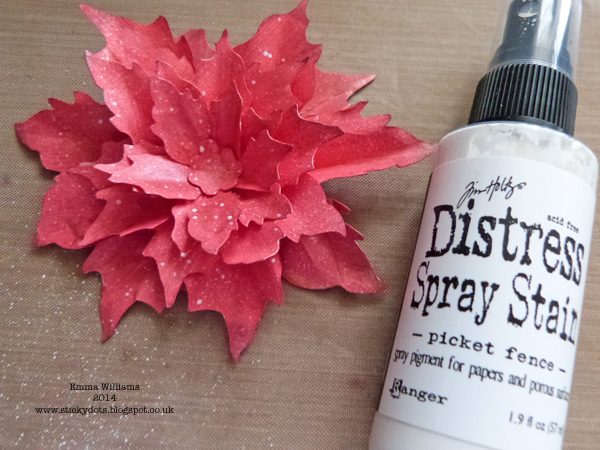
Ink the edges of each flower with Pumice Stone Distress Ink and then, to create the look of snow over the top of the flowers, lightly spritz with Picket Fence Distress Spray Stain.
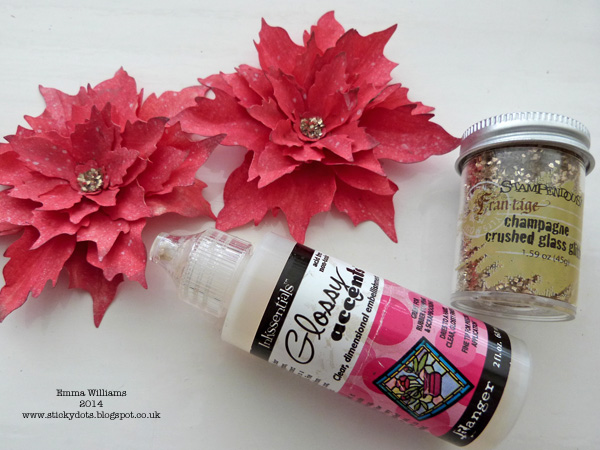
To create the centre of your poinsettia, add a small amount of Glossy Accents and sprinkle some Champagne Glass Glitter over the top. Tap away the excess and leave to dry.
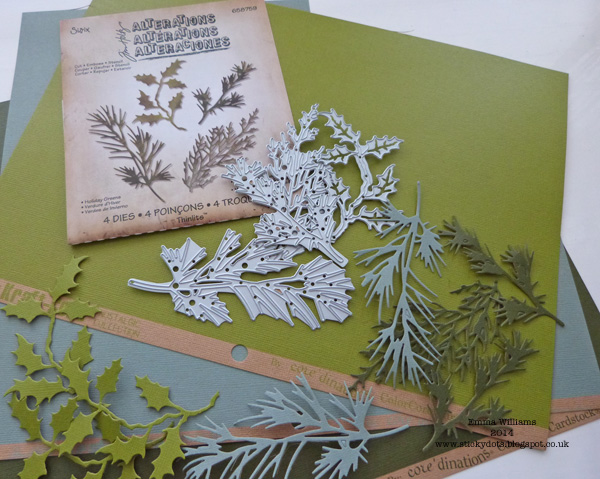
Using the Holiday Greens die, die cut some foliage from Core’dinations Kraft Core Nostalgic cardstock.
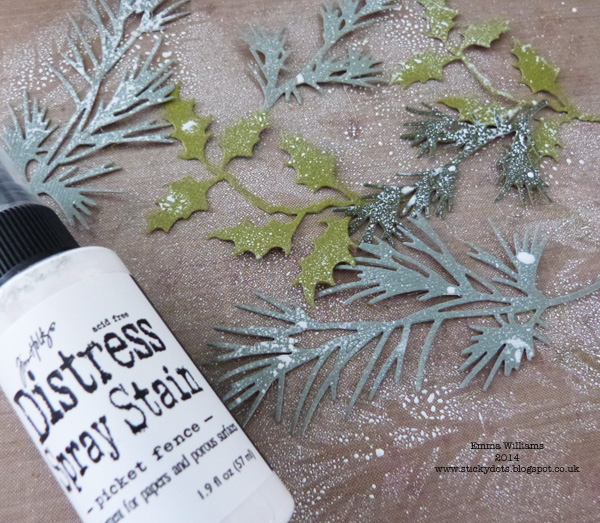
As with the poinsettias, spritz the foliage with Picket Fence Distress Spray Stain to create the look of frost and snow. Heat dry.
Arrange your poinsettias and foliage onto your parcel.
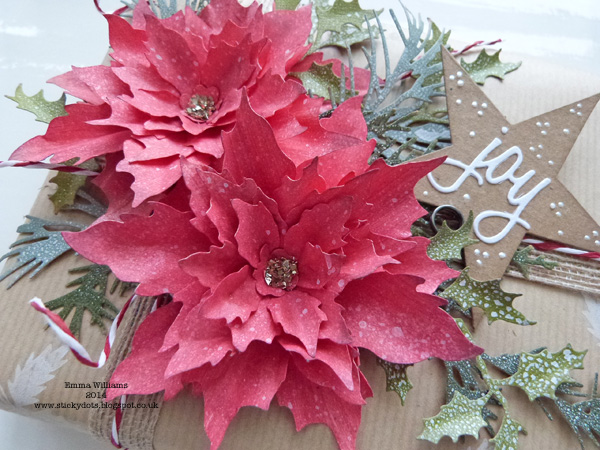
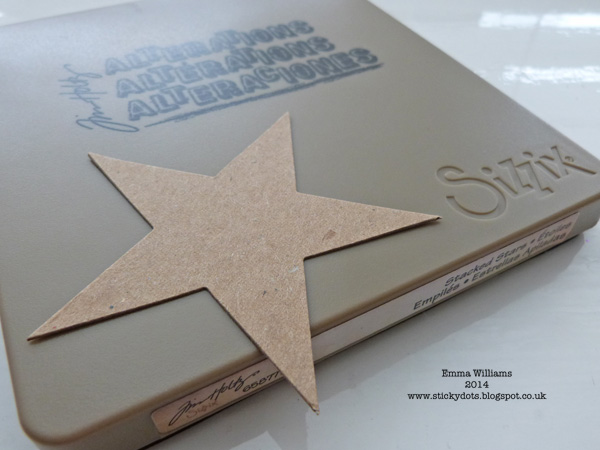
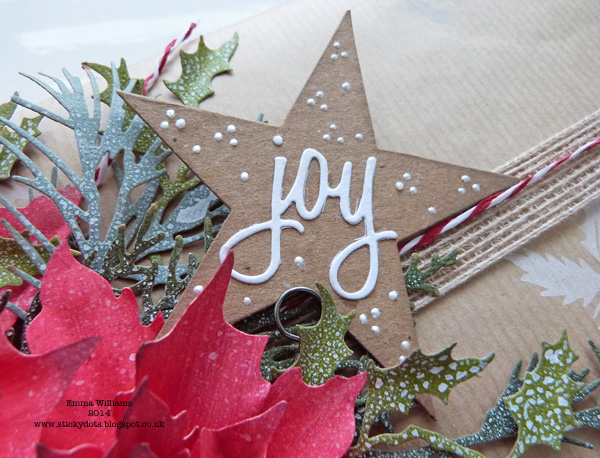
For the finishing touch, I made a tag. For this I used the largest of the Stacked Stars die to die cut a piece of kraft card.
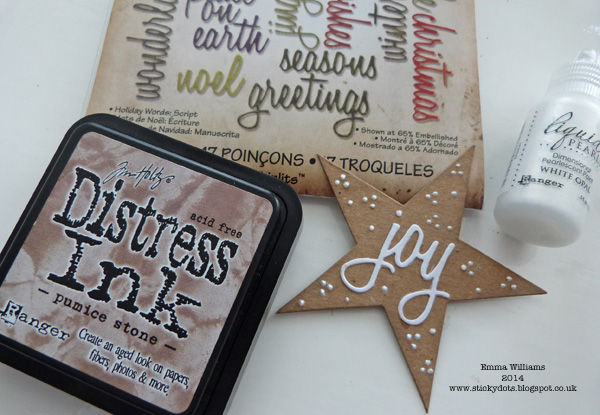
Die cut the word “Joy” from white pearl card and attach to the centre of your star. Ink around the edges of the tag with Pumice Stone Distress Ink and add small dots of Opal Liquid Pearls as a finishing touch.
Attach your tag using a Memo Pin to the floral display to complete your special gift wrapped parcel.
I really hope you’ve enjoyed this tutorial and thank you so much for stopping by today. Hope you all have a wonderful festive holiday and a very happy new year!
Supplies:
Surfaces: Ranger Kraft Card, Crafter’s Companion Pearl Cardstock, Tim Holtz Kraft Core Nostalgic Cardstock
Stamps: Tim Holtz Styled Woodlands
Dies: Tim Holtz Sizzix Holiday Greens, Tim Holtz Sizzix Holiday Words Script, Tim Holtz Sizzix Bigz Die Tattered Poinsettia, Tim Holtz Sizzix Bigz Die Stacked Stars
Ink, Paint and Sprays: Pumice Stone Distress Ink, Ranger Adirondack Pigment Ink Snow Cap, Festive Berries Distress Paint, Picket Fence Distress Spray Stain, Forever Red Perfect Pearls Mist Spray
Glitter and Liquid Pearls: Stampendous Champagne Crushed Glass Glitter, Ranger White Opal Liquid Pearls
Embellishments: Idea-ology Memo Pins, Paper String Stripes
Tools: Big Shot, Magnetic Platform
From my own supplies: Kraft wrapping paper, burlap ribbon
Challenge Badge

Spotlight Badge


WOW! This is incredibly beautiful! I would love to give gifts that look like this. Thanks for the wonderful inspiration!
Bee-utiful gifting. It’s indeed all about the presentation. The Poinsettias have such wonderful dimension & style.
Melissa
“Sunshine HOneyBee”
What a gorgeous package! Love it!
A lovely, lovely project! TFS
That present is just too pretty to unwrap! It’s projects like this one that make me wish for a die-cutting machine this Christmas. Santa? Are you listening?
Love all of these ideas. Just wish I had my shopping done :)
So beautiful.
Hugs
Cathy
xxxx
Beautiful package!
This package is gorgeous — I wouldn’t want to open it, just keep it around to display.
Wowzers! I love this! The floral die-cut decoration looks amazing! Bravo!
Beautiful! Thanks so much for the tutorial on how to create this. Love it!
Wow! This is gorgeous! It’s a shame to have to take it apart to get to the gift. I think I would have to leave it intact! A very merry Christmas to you and thanks for the gift of inspiration (and enabling).
A beautiful package!
Stunning step by step, Emma! I love the dimension of the poinsettia :)
*mwah*
Steph
Simon Says Stamp!
The poinsettia grouping took on a life of it’s own! Gorgeously done! Love your work, Emma!
What a lovely package Emma! I love the red poinsettias against the kraft paper. What a fun idea, and I just happen to have a roll of brown kraft wrapping paper upstairs. Thanks for the inspiration.
Such a crafty way to dress up a Christmas present! Love the white stamping on that kraft.
I can’t get over the gorgeousness! Totally in love!!
Fabulous present just to look at !! never mind what might be inside – inspired me to get crafty with my wrapping, thanks so much and Happy Christmas to all.
I would never open this gift!!!!!!!!! It is just too beautiful. Thanks for the tutorial.
I would never open this gift!!!!!!!!! It is just too beautiful for words. Thanks for the tutorial.
Your flowers are gorgeous! Thank you for the tutorial.
Wow! Stunning!
What a fun tutorial. Your package looks so elegant. I must try that sometime soon.
What caught my eye was the simple ‘joy’ star – it is beautiful and such a great reminder of the holiday season. Best wishes!
Emma, that is such a nice way to pack a gift! I love the touch of gold in the flower, really neat idea!
xo
Gorgeous!
Lovely project. Fabolous flowers, beautiful details. And a great tutorial. Love your result. Thank you for sharing this.
Hugs from Monica… Spain
Absolutely beautiful. A wonderful part of any gift is the “present”ation!
Pretty sure I would not want to open the gift!! It’s gorgeous!!!
So amazing.. Gorgeous project and fabulous step by step. Thanks so much!
Amazing!!!
The poinsettia are gorgeous. Must remember to scrunch up my flower petals. Great dimension and texture. Hugz
Your poinsettias are outstanding. What a Beautiful package. The gift inside the box had better be extra special or it will be a let down after seeing such exquisite wrapping.
Wow, love all the inspiration!
Your flowers are Always stunning! Beautiful project !!! BArbarayaya
wow, even the brown bag just with the pretty white stamped images is beautiful.
This is beyond beautiful I’d never want to open it. Thanks for a fabulous tut! xxD