Custom Embellishments with Ashli
Hi there! Ashli here with you today. I am excited to share with you an oldie, but goodie! Not only is my photograph a trip down memory lane of days spent roller skating with my dad, but I am going to revisit a favorite technique…
Handmade Grunge Board Glossy Embellishments! Yes, that is the technical term for these. I promise.
I used to use my grunge board and Glossy Accents to create all sorts of custom pieces for my projects. But then, I ran out of glossy accents and by the time I remembered to order more I had gotten out of the habit of making these. So, it is time to return to that!
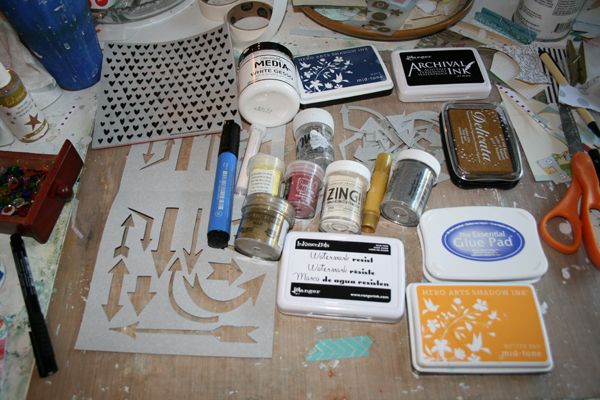
Here, you can see my assortment of supplies. What’s included? Various inks, glitters, embossing powders, paint, markers… and of course some grunge board and my die cut shapes:
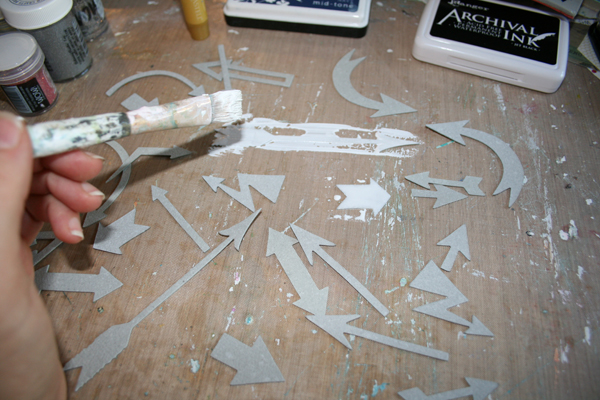
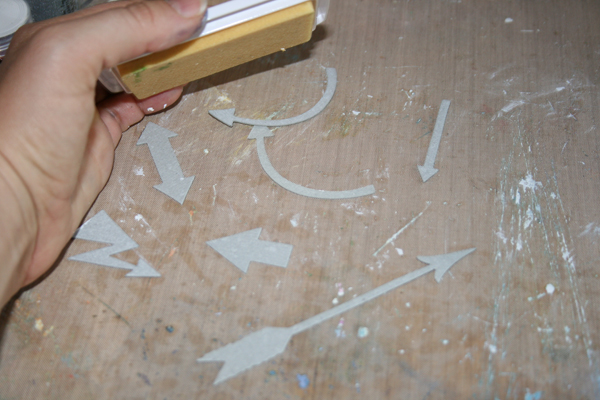
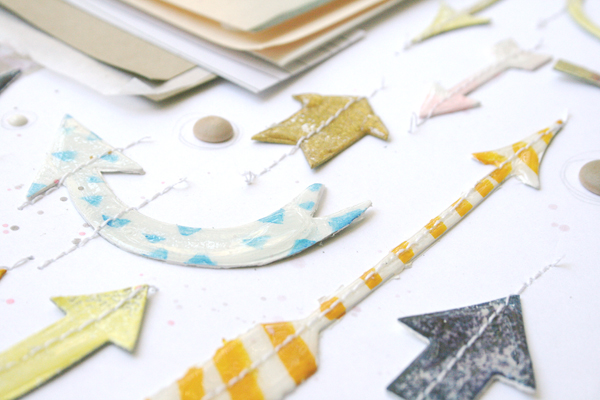
Let’s get started! Here I have my fabulous arrows to work with. Now, let’s go ahead a paint some of them white. This will give a nice base for some of the techniques.
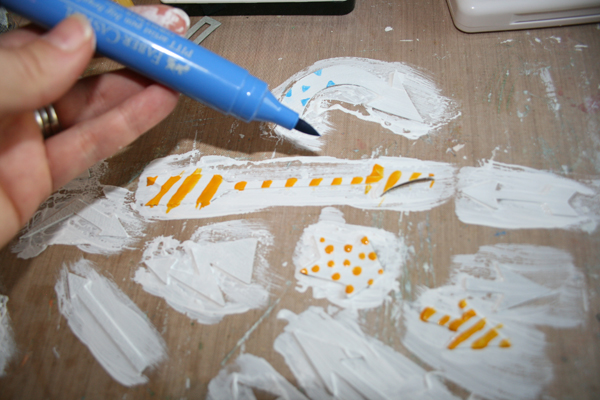
Once that paint is dry, we can play around with some more paint and markers. I have chosen to add some whimsical patterns using a small brush and yellow paint, as well as a blue Pitt Pen to create a triangular pattern. Just have fun with this and do what works for your project!
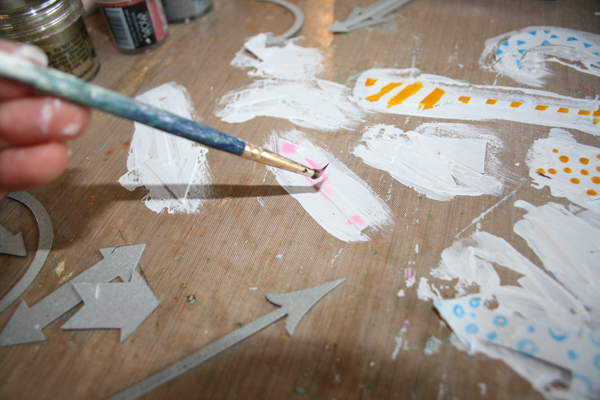
See? Even watercolor works!
Those are all set to dry, now let’s use some of this Navy Ink…
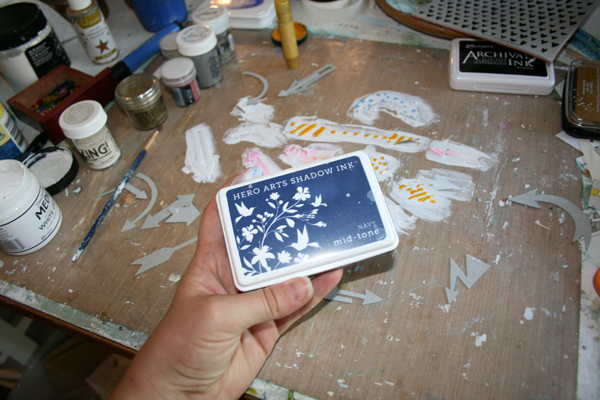
With just one press, this is the look… and I LOVE it! The mottled effect is so fun, yes? If you don’t like that, simply press your ink pad into your shape once more and you will be good to go!

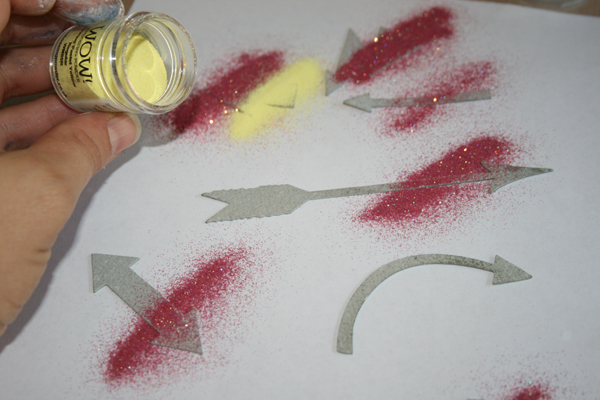
OK! Now that we have worked with the arrows that were painted white, let’s get back to the plain ones. It’s time to heat emboss! Because embossing powder is opaque when heated, there is no need to pre-paint your shapes first. Simply press a watermark ink onto each shape…
Sprinkle of various powders….
Don’t be shy. Have fun with this!
Ta Da! There they are, all ready to go…
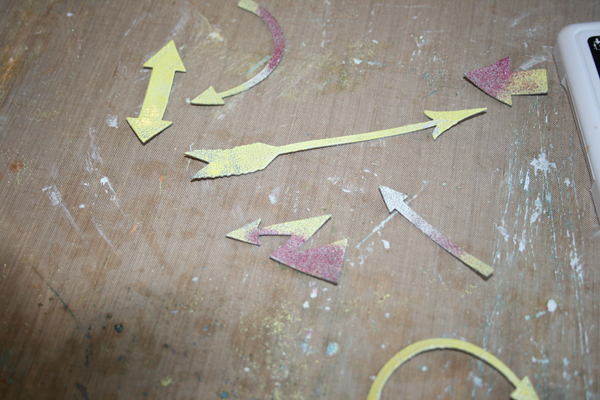
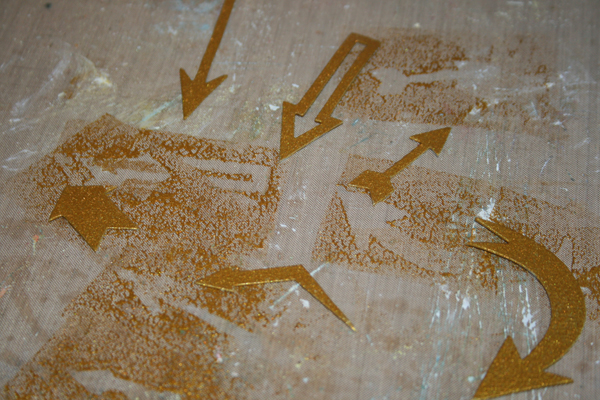
Now, for the rest of the arrows… let’s just press our Gold Pigment Inkpad into them. Easy peasy!
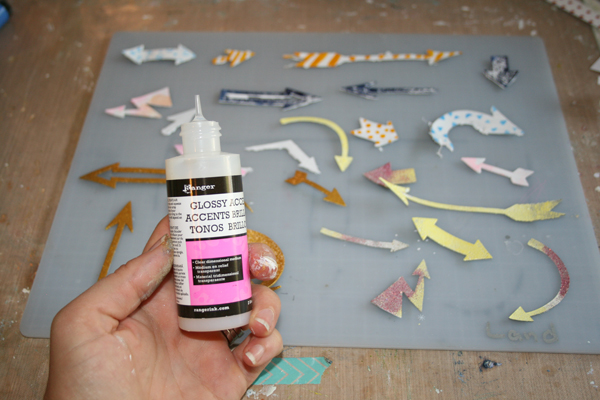
And now for the icing on the cake… or arrows, as it were. Glossy Accents! Once dry, this will give these arrows a high gloss sheen that creates a lovely finished look. You might notice I have moved all the arrows to another surface? This is because they will take overnight to dry and I need to be able to move them to the side. Be sure to choose a non-stick surface to do this on.
Simply outline each shape with the Glossy Accents, then fill each shape in. This is similar to glazing a cookie. Yum!
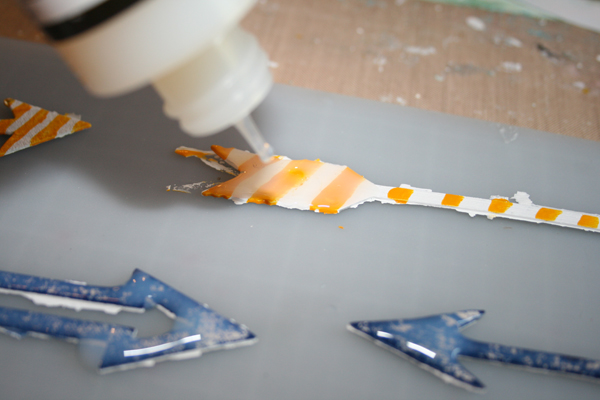
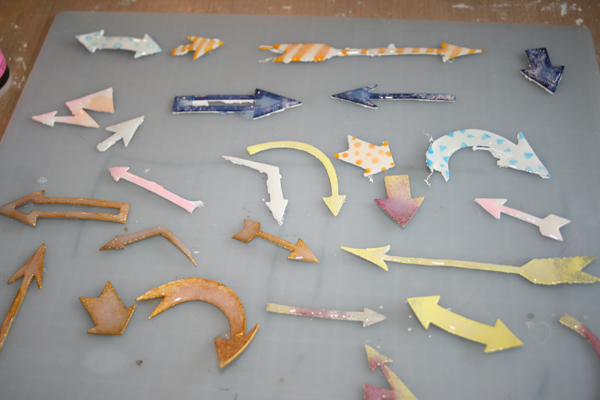
And there they are! All “iced” and ready to dry. See how they have a slight “milky” appearance? Not to worry! This will turn completely clear as it dries.
Creating little doo-dads and such like this makes the perfect little embellishment for any project!
And I just love how they look on this layout!

The arrows are such a fun addition to the story of this page and I love how I was able to customize my colors and patterns to further highlight the time period of this photo! 1984, to be exact… complete with bright yellow shorts and knee socks. Oh, and lots of handmade, shiny arrows!
I hope this has inspired you to break out your favorite shapes and create some shiny bits of your own!
Other Supplies Used:
Tim Holtz Block Talk Alphabet Die, Memory Box Urban Lowercase Alpha Die, Cosmo Cricket Paper, Wood Veneer Dots, Enamel Dots, Pink Bling

Another fun project from Ashli! Old or new – it’s your turn! Join us this week in the challenge and show us what techniques you’re ready to rock!
Challenge Badge

Spotlight Badge


So cool! I’m definitely going to be doing this!
Gorgeous! You make it look so easy too, thanks for sharing Karen
wow, something i never thought of. thanks for sharing. they do look so nice.
Wow! What amazing embellishments! So glad you shared!
Exciting stuff. Thanks for the tutorial.
Really FUN tutorial, Ashli, I love your enthusiasm and your suggestion to make these ahead of time so they are always on-hand when you need them.
Thank you for the inspiration. These are wonderful. Love you layout.
The arrows are very cool. Great technique. Hugz
Absolutely wonderful tutorial! Love it! barbarayaya
Great tutorial!
Such a fun tutorial and so much work and detail! I love your layout Ashli and thank you for sharing all your wonderful techniques! :)
The different techniques on the embellishments are very cool! Love how you used them on our layout with the lovely movement the added to the design to go with the photo!
Love all these cute arrows. Thank you for this great tutorial, Ashli. :)
I always adore your layers of creativity and these little arrows are such a great component! I loved the tutorial and really liked how each one looked so unique!
Such a lovely tutorial, Ashley! Thanks so much for sharing! I’m going to have to give these embellishments a go!
*mwah*
Steph
Simon Says Stamp!