Bleaching Technique with Melissa Bove
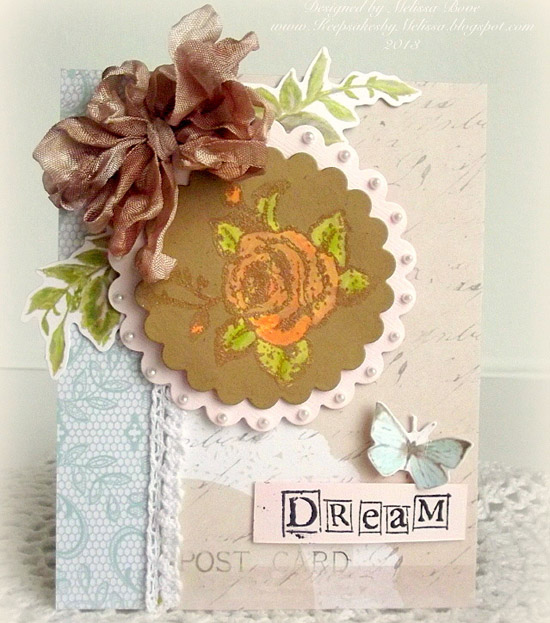
Hi everyone! My name is Melissa Bove. I am so honored to have been asked to create something for the Simon Says Stamp and Show Blog! I love anything vintage and shabby! I am currently on the Simon Says Stamp Challenge Blog DT and love every minute of it! So it is a nice change to come over to here and visit. Today I am going to show you how to add some highlights to your stamped images using Bleach.
First you will have to stamp your image onto a darker colored cardstock using an Embossing Ink. Distress Ink will work too.
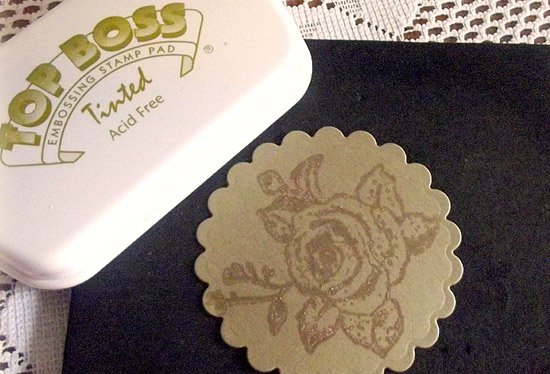
Next you will add your embossing powder onto the image, shaking off any excess. Melt the powder using an Embossing Heat Tool.
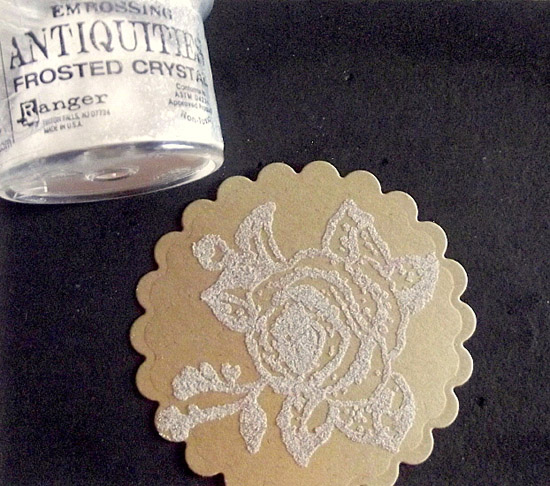
Using household bleach and a brush, color in all parts of the image.

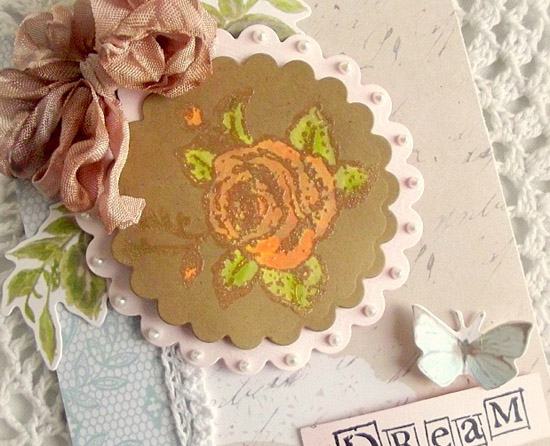
When dry, color in image with Copic Markers or any coloring medium that you choose. This technique gives some subtle highlights to your image as well as an aged almost stained glass kind of look.
The materials I used are as follows:
Kaiser Crafts True Romance Clear Stamp Set, Kaiser Crafts True Romance 6.5 x 6.5 Paper Pad, Kaiser Crafts True Romance Die Cut Shapes, Top Boss Tinted Embossing Pad, Ranger Clear Embossing Powder, Copic Markers RV11, RV13, RV52, G02, G14, Black Staz-On, Spellbinders Large Scalloped Circle Nestabilities, Kraft and light pink cardstock, Circle Pop Dots, Bleach, Ranger Heat Tool, Seam Binding
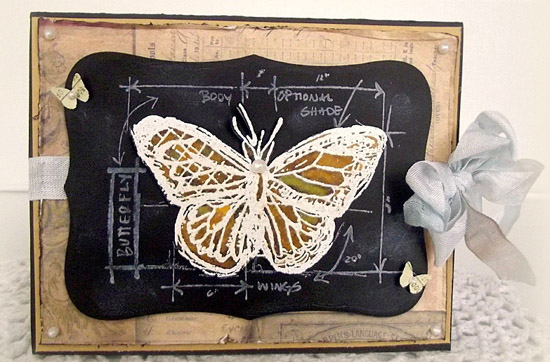
For my second card, I decided to use some black cardstock and white embossing powder. And what I noticed with the bleaching technique on black cardstock, is that it leaves rich golds, browns and greens colors. So since I wanted earth tone colors, there was no need to even color in the image!
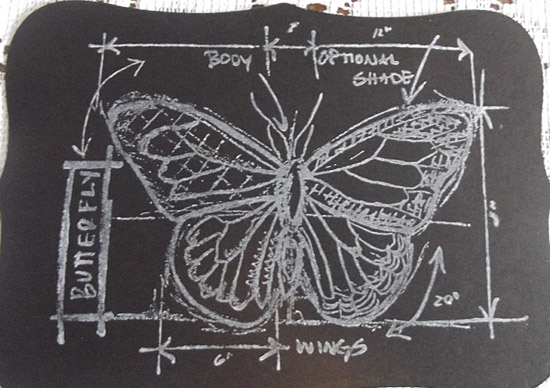
I then stamped it again with embossing ink onto a second piece of black cardstock, added the white embossing powder and heated until melted.
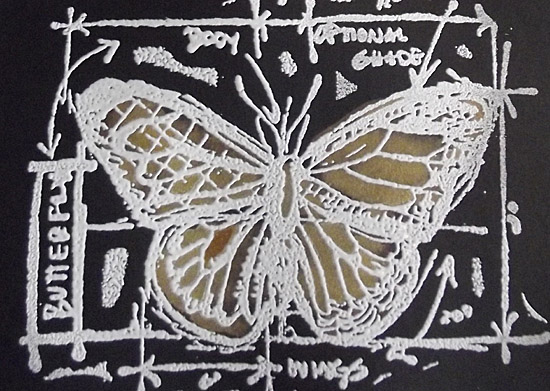
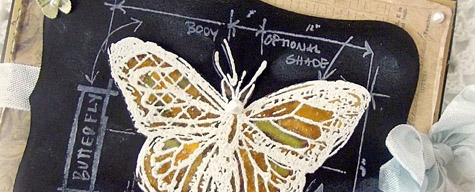
As I did with the first card, I colored in the image with the bleach using a brush. Once done, I cut the butterfly out and adhered over the original stamped image. Once the bleach was completely dry, I added a layer a Rock Candy Distress Stickles over the image to give a subtle sparkle to it.
Materials used:
Tim Holtz Easter Blueprints (Butterfly), Tim Holtz Idea-ology Collage Mini 8×8 Paper Pad, Hero Arts White Embossing Powder, Top Box Tinted Embossing Ink, ColorBox Frost White Ink Pad, Black Cardstock, Ranger White Opal Liquid Pearls, Martha Stewart 3in1 Butterfly Punch, Spellbinders Labels Eight Nestabilities, Tim Holtz Rock Candy Distress Stickles, Seam Binding Ribbon, Ranger heat tool, Household Bleach
Thank you so much to May and the rest of this fabulous team for having me this week! It was a lot of fun!!
Thank YOU Melissa for sharing such a cool technique! I love the results and how the look varies depending on the cardstock color. This is a cool idea. I hope you’ve enjoyed Melissa’s cards as much as I have.

Now are you feeling inspired to get a little stamp-y yourself? Then join us in this week’s challenge! Click here to see the rest of the design team’s entries and to enter your creation. For the full rules, read the “challenge rules” posted in the side-bar here on our blog.
Challenge Badge

Spotlight Badge


