Serendipity card tutorial with Tracy Evans
Tracy Evans here, and today I am going to run you through a few step by steps to create the background in my card below.
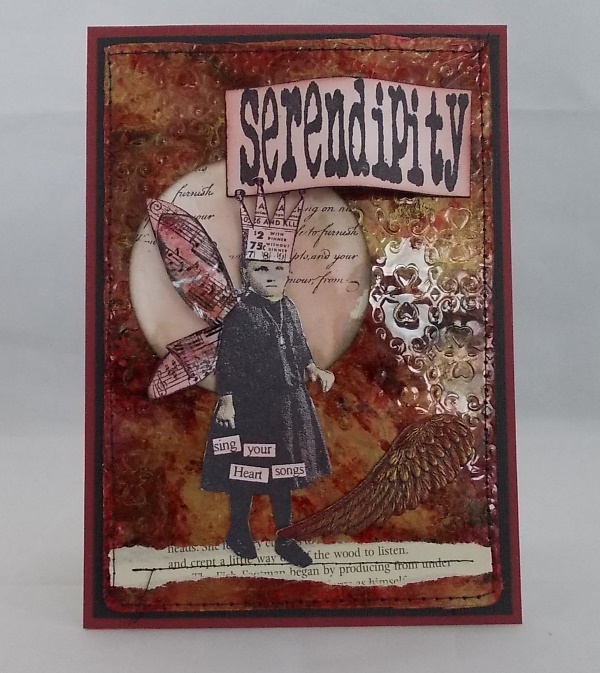
I have used acetate and alcohol inks to create an opulent background adding further texture with a touch of embossing. So lets begin!
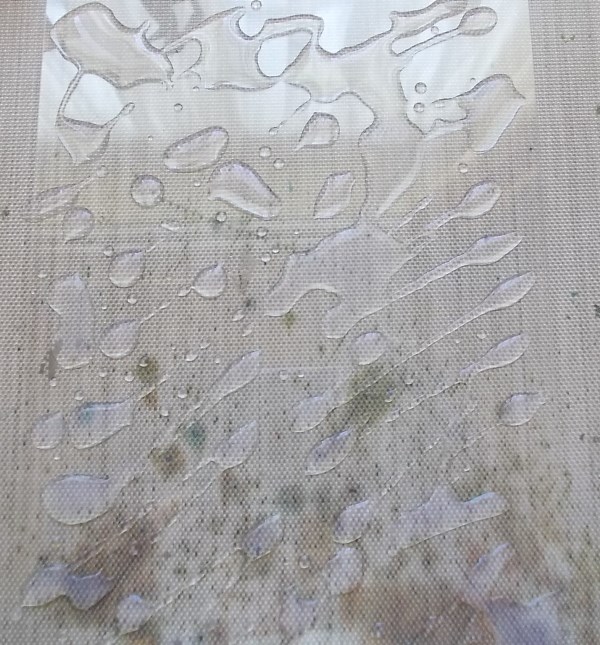
Apply Diamond Glaze to a piece of acetate, my piece measures 4″ x 6″.
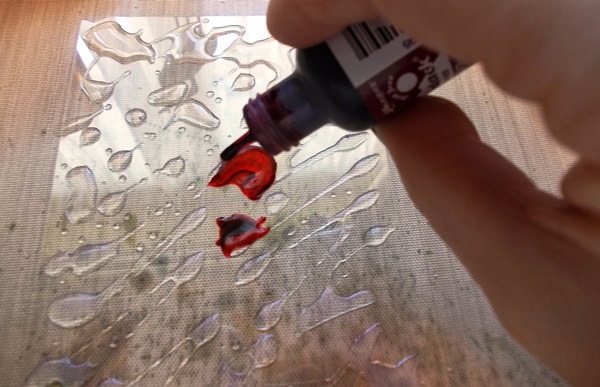
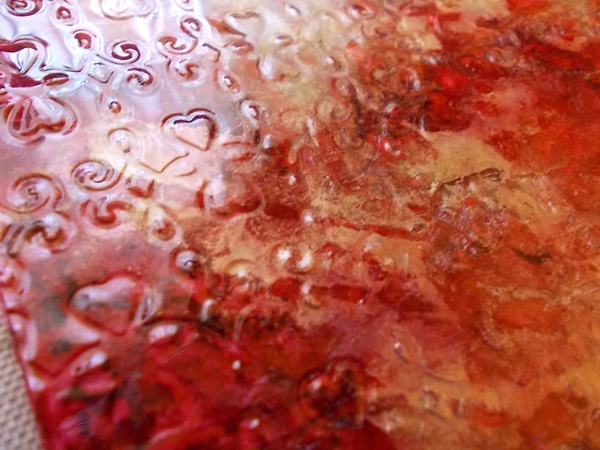
Add drops of Cranberry Alcohol Ink to the acetate, applying colour over the entire surface but leaving gaps for other colours if necessary.
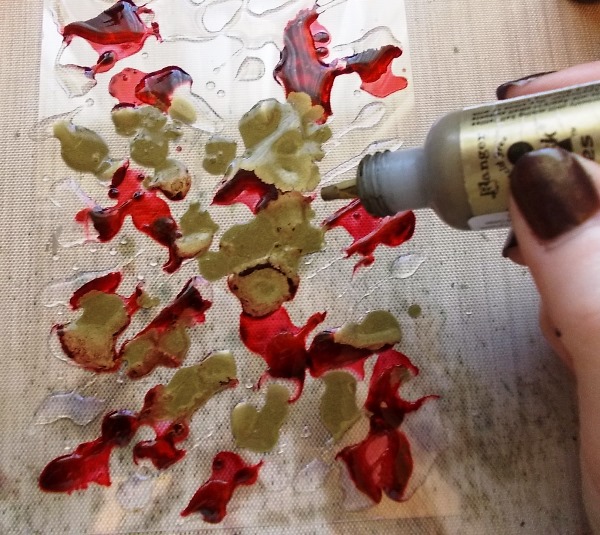
Add Gold Mixative into the mix, simply adding randomly to the background. Continue this process until the acetate is covered with Alcohol Ink.
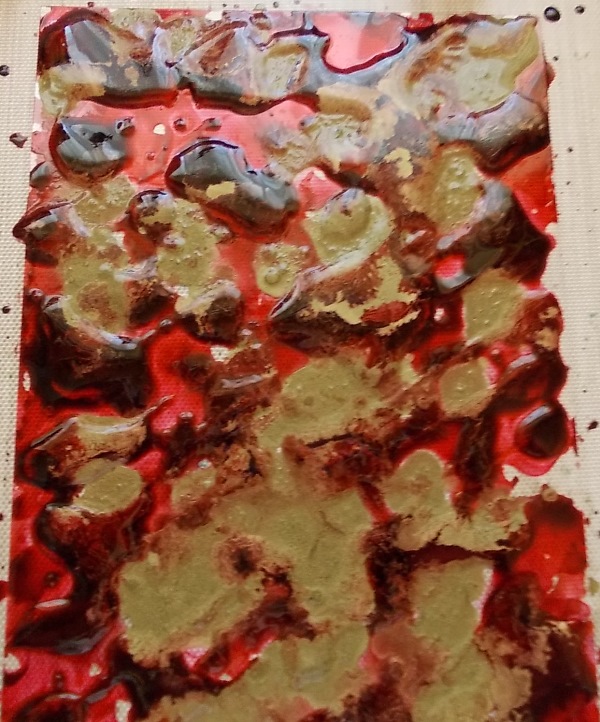
You can add as many colour as you wish at this stage but I opted for just two colour choices. I was aiming for a real opulent feel.
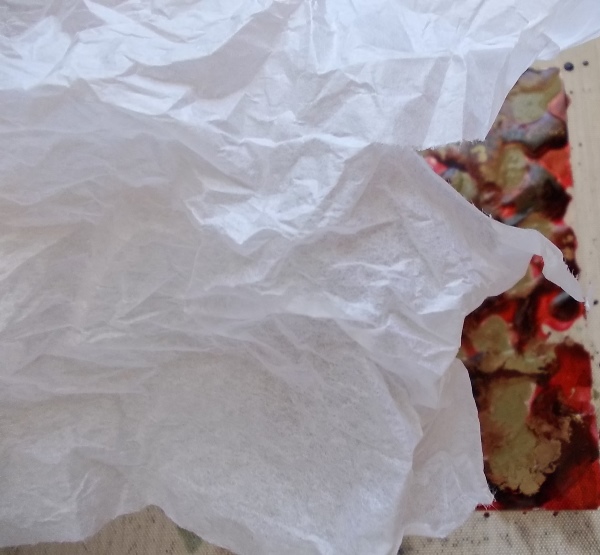
Crumple a piece of tissue and then place on top of the inked acetate.
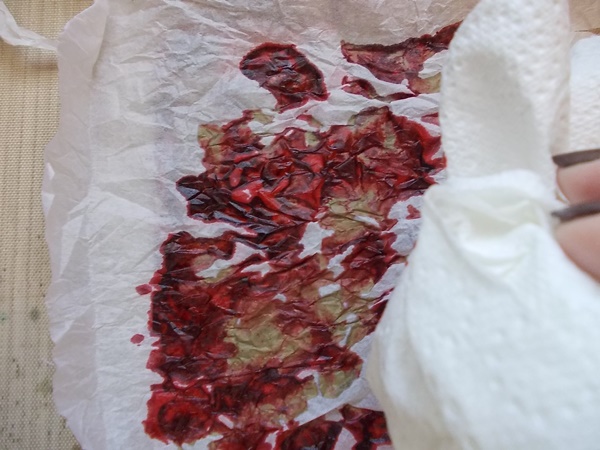
Dab the tissue into place using a piece of kitchen towel. Ensure you are working on a Non-Stick Craft Sheet when using this technique!
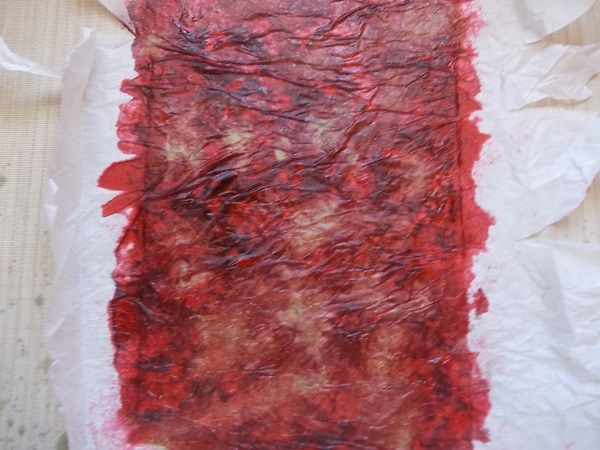
Continue to press the crumpled tissue onto the acetate and then set aside until completely dry. Once dry trim away the excess tissue paper.
Now that the acetate is completely dry, emboss the decorated piece with the Twisted Hearts Spellbinders M-Bossabilities Embossing Folder, this adds further texture to the piece, something I love.
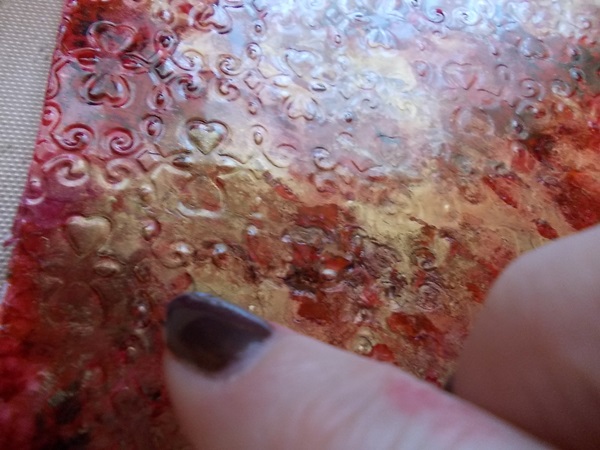
For a touch more opulence rub over some of the embossed areas with Olive Bronze Treasure Gold Wax.
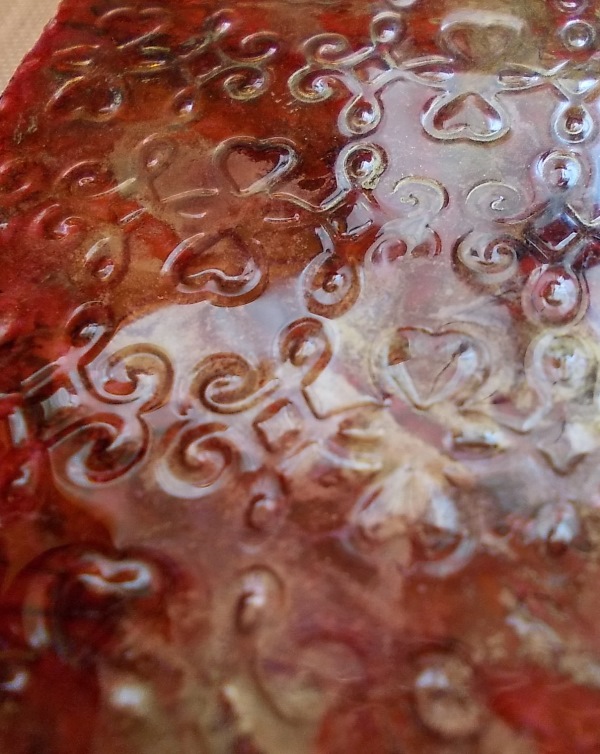
This gives the design a touch more opulence and really adds to the overall feel of the background piece.
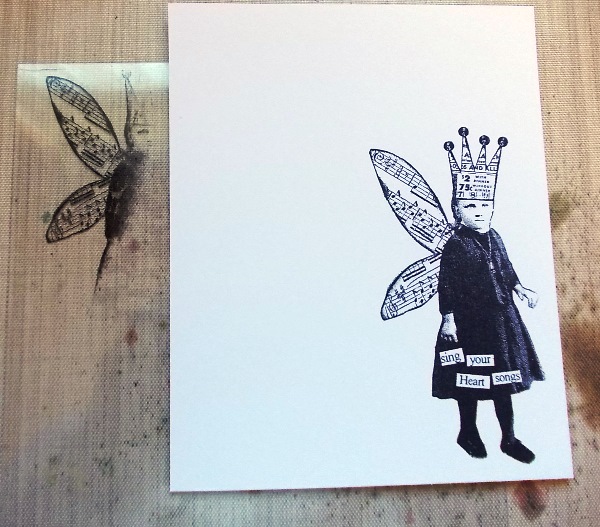
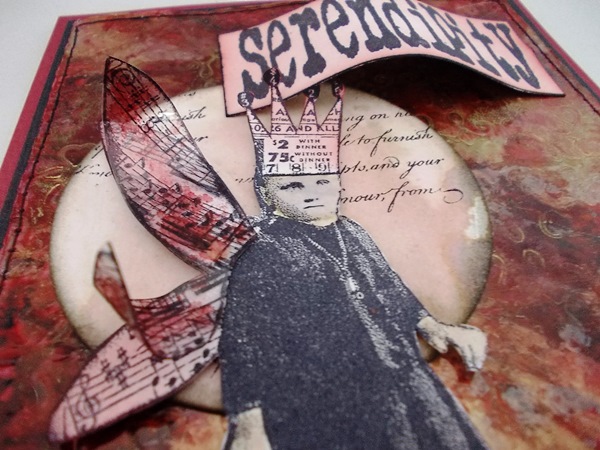
To decorate the background piece I decided to use the girl from Tim Holtz Winged Things 1 Stamp Set. I stamped the image onto white card with Black Archival Ink and stamped the wings a second time onto Wendy Vecchi’s Clear Clearly For Art using Black Stazon Ink.
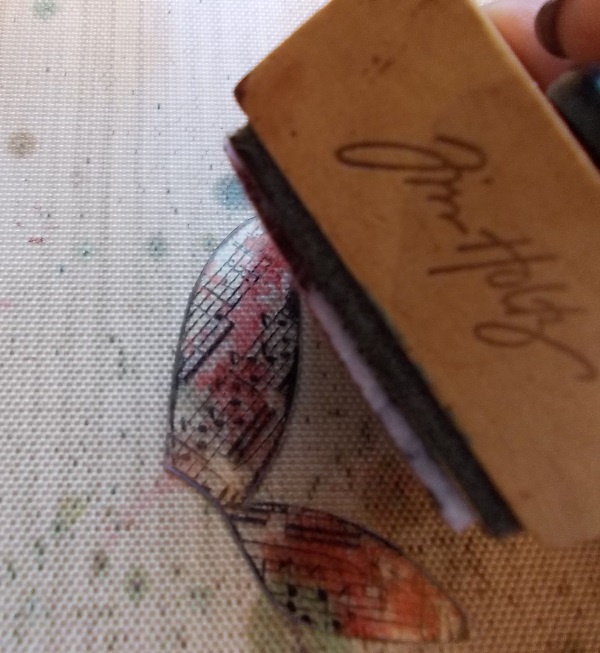
Both the girl and the wings were then cut out; the wings were coloured with a touch of Cranberry Alcohol Ink.
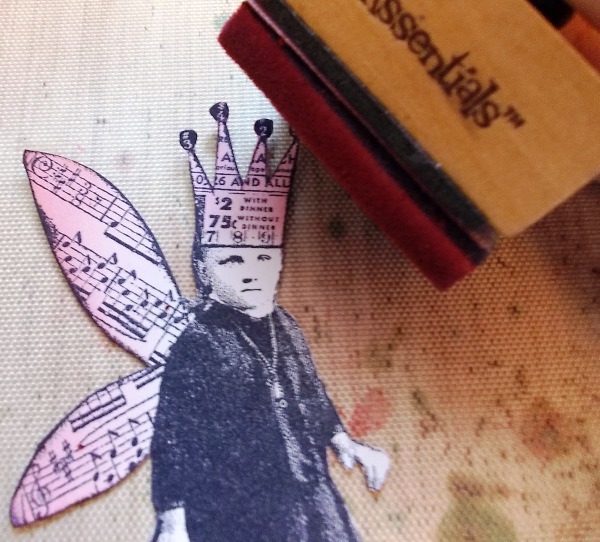
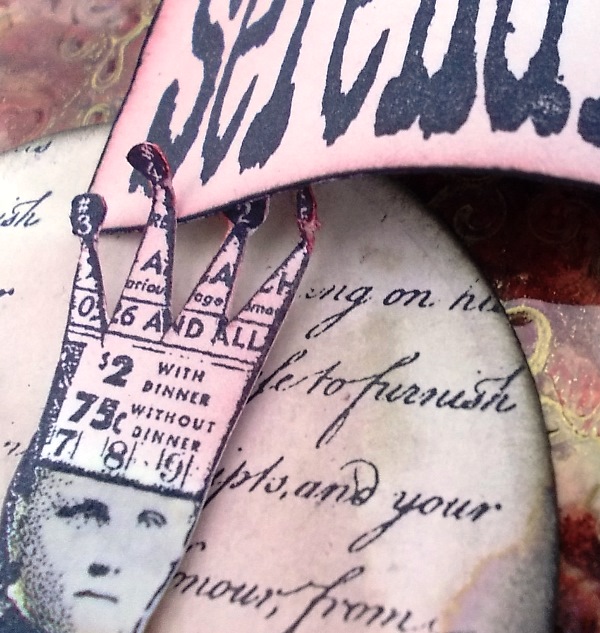
I coloured the wings and the crown with Aged Mahogany Distress Ink.
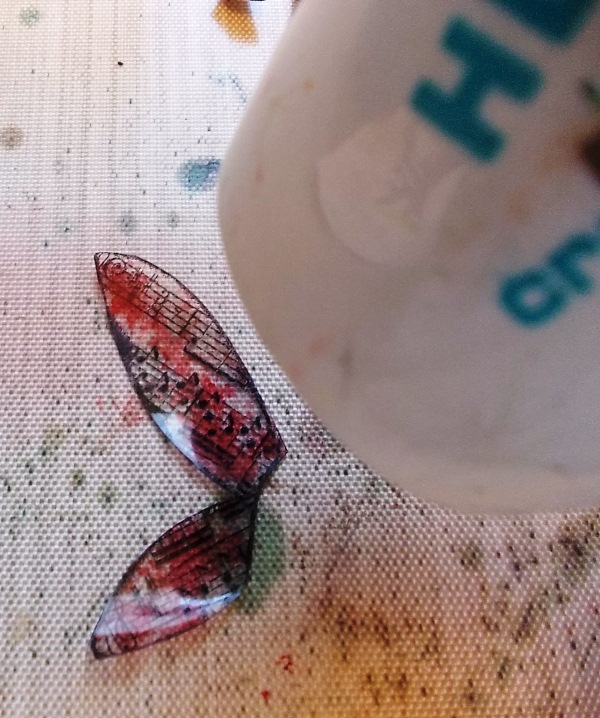
I then heated the Clear Clearly For Art, once this product is warm it allows you to bend and manipulate your piece.
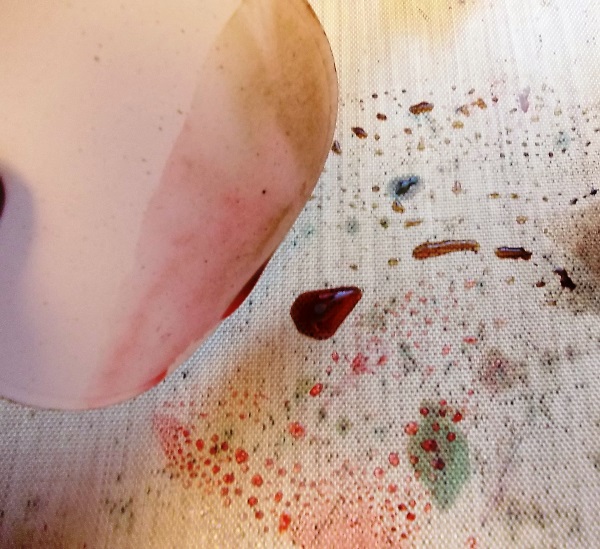
I die cut a circle from white card and then applied Aged Mahogany and Walnut Stain Distress Inks to my Non-Stick Craft Sheet and then spritzed with water and mopped up the beads of ink with the card. Heat with a heat tool to dry.
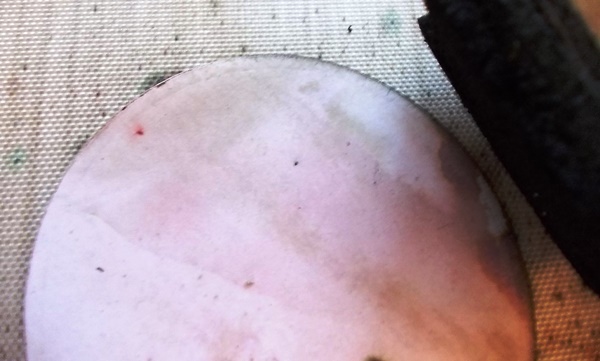
Apply Black Soot Distress Ink to the edges for definition.
Add background stamping to the circle using the background stamp from Tim Holtz Classics 9 Stamp Set and Black Archival Ink.

Place all the elements onto the decorated backdrop.
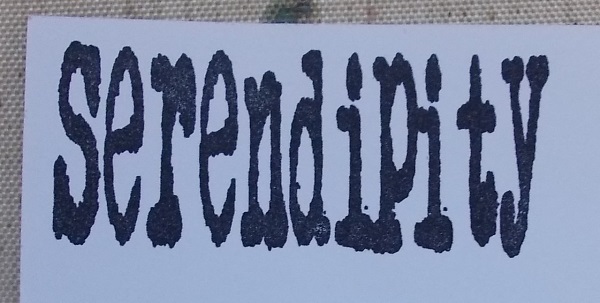
Stamp the sentiment onto white card with Black Archival Ink, cut out and colour with Aged Mahogany Distress Ink, applying Black Soot ink to the edges.
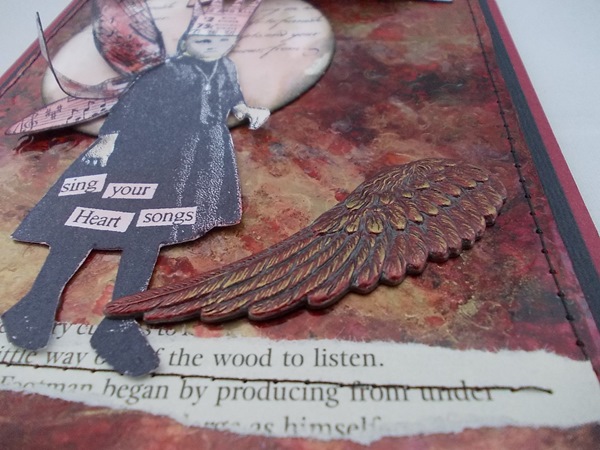
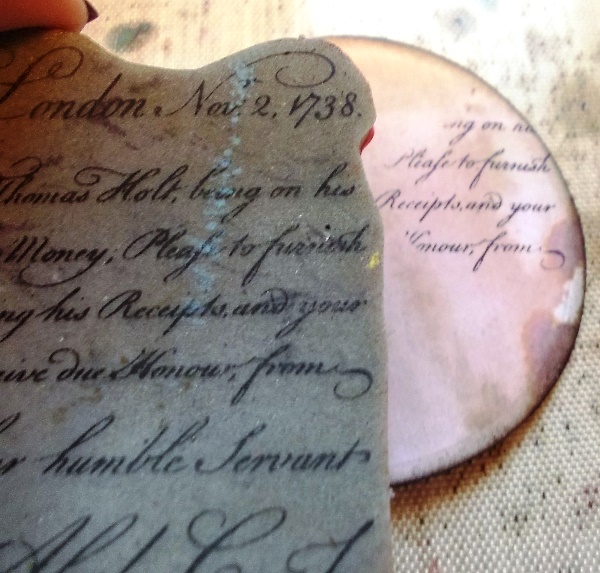
I like to ‘ground’ my images to that they do not appear to be floating so on this occasion I have added a torn piece of book page machine stitched into place to ground my little winged girl. I have also added machine stitching to the outside edges of my card. For further interest and dimension I have also included a wing embellishment coloured with Alcohol Ink, highlighting the detail with Olive Bronze Wax.
I love the detail and texture the backdrop gives to my card; I love to create my own backgrounds.
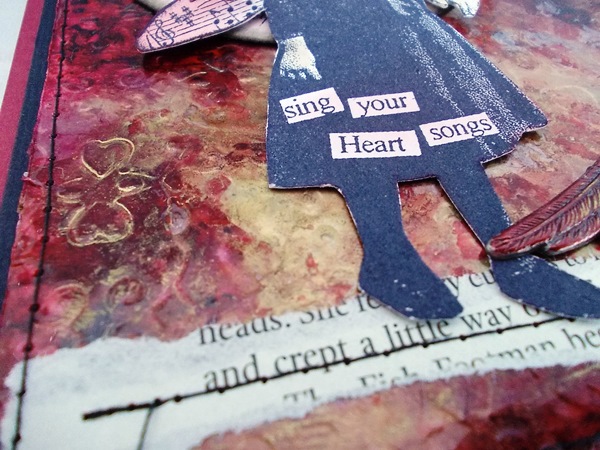
Happy accident but I also love the text from the book page, this was not planned but I love it when things like that happen so unexpected.

Wow! I love all of the techniques and details that Tracy added into this piece, and how much inspiration she has shared. Thanks Tracy!
Guess what? Now it is your turn – join us this week in the challenge! For the full rules, read the “challenge rules” posted in the side-bar here on our blog, and be sure to enter the challenge in the post below this one.
Products Used:
Tim Holtz Winged Things 1
Tim Holtz Classics 9 Stamp Set
Tim Holtz Idea-ology Regal Adornments
Alcohol Inks – Cranberry, Gold Mixative
Spellbinders Standard Circles Large Die
Black Archival Ink
Black Stazon Ink
Distress Inks – Aged Mahogany, Walnut Stain, Black Soot
Wendy Vecchi Clear Clearly For Art
Challenge Badge

Spotlight Badge


This is so inspirational. I love everything about it! The background is something I can’t wait to try out and I love the stitched on sentiment. It all works superbly together. I was feeling a bit low until I read this step by step and now my spirits are soaring with those wings! Julie Ann xxx
Magnificent, Tracy! That acetate/tissue technique is absolutely stunning – what a glorious background to your winged girl. I love the stitched book page to ground her too… Altogether wonderful, and so much inspiration, thank you.
Alison x
Beautiful project! Love the tutorial and the alcohol ink background is fantastic!
Wow Tracy! What a stunning project! I love the beautiful background! Thanks for sharing your creative process!
Stunning technique Tracy! Wonderful tutorial! I love alcohol inks and this is a new way to create with them! thanks for sharing with us your work! BArbarayaya
It’s very nice Tracy. Thank you for the explanation.
Wow… the texture and colors are gorgeous, Tracy. Thank you so much for sharing this great tutorial. Love it. :)
This is a stunning project Tracy, love that alcohol ink technique.
Gorgeous project Tracy and what a great technique! Love all the layers and the yummy colours.
WOW WOW! Fantastic project, thanks for the details!
Tracy, this is absolutely stunning. xx
Fabulous piece Tracy. Love the unusual techniques and surfaces – thanks for sharing! Nicola x
what is “apple diamond glaze”?
Oops sorry Laura that should be apply Diamond Glaze. Thanks x x
oh sorry…I wasn’t trying to point out a mistake… I just don’t know what diamond glaze is at all .
That’s no problem Laura it’s an adhesive and glaze all in one and when used in this technique it dries clear. Thanks so much Laura x x
This is just gorgeous, Tracy. I love the textured acetate background and the way you created it is just fabulous. Thanks for sharing this wonderful tutorial and as always, I love the final piece of artwork!! Love Emma xx
Gorgeous! i love the transparency with the embossing and the colors! Fabulous tutorial!
This tutorial was so jam-packed with great ideas! Thank you so much for sharing your genius and your knowledge. I felt totally inspired!
way 2 cool. love the diamond glaze application.
What an incredibly stunning background. LOVE!
um…yeah…wow!!!! i have no words. LOVE!