Vintage Valentine
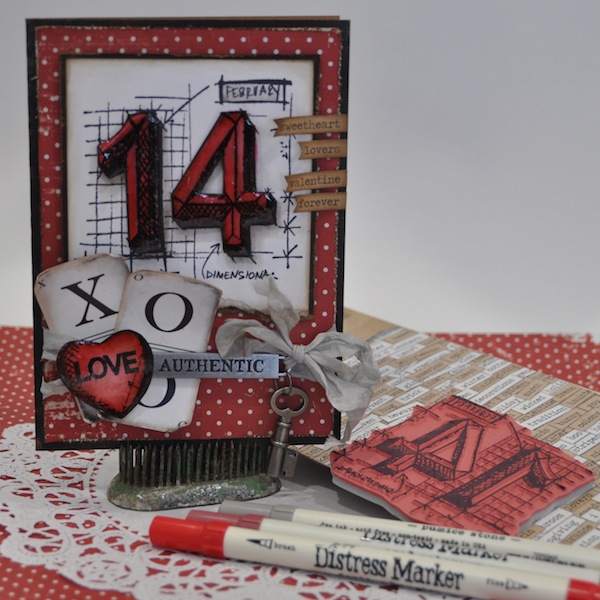
Happy FRIDAY, readers! What a week! I hope you had a good one and managed to take some time for fun! I’m excited to share with you this fun vintage Valentine card made by the awesome & talented Richele Christensen featuring some fun seasonal Tim Holtz stamps! Isn’t it just embellished perfectly? Below Richele provides some expert tips, and detail close ups so you can make one too for someone special!
Enjoy!
Hello it’s Richele Christensen today. Valentine’s Day is just around the corner and it’s a great time to make a card for someone special.
Stamp the Valentine Blueprint image “14” twice and the little “heart” with Jet Black Archival Ink onto Watercolor Cardstock. Color the images with Distress Markers and blend with the Detail Water Brush. I love the Detail Water Brush, makes it look like a watercolor artist painted my project. Magic! I also like to add shading around the image with the Pumice Stone Distress Marker this will help the image pop and give it dimension. Trim the “14” image down and mat with Black Kraft’core. Distress the edges with a Paper Distresser and ink the edges with Walnut Stain Distress Ink on an Ink Blending Tool. Adhere the mat and the main image together. Detail cut the “14” and use foam tape to adhere.
Cut the base card 9” x 6 1/4” score and fold in half. Sand and ink the edges with Walnut Stain Distress Ink on an Ink Blending Tool. Cut a piece of Merriment paper 4 1/4” x 6”. Distress the edges with a Paper Distresser and ink the edges with Walnut Stain Distress Ink on an Ink Blending Tool. Use foam tape to adhere the “14” image the the polka dot piece. Color Crinkle Ribbon with Pumice Stone Distress Ink by applying ink directly to your Craft Sheet. Spritz the ribbon with water and wipe the ink up with the ribbon.
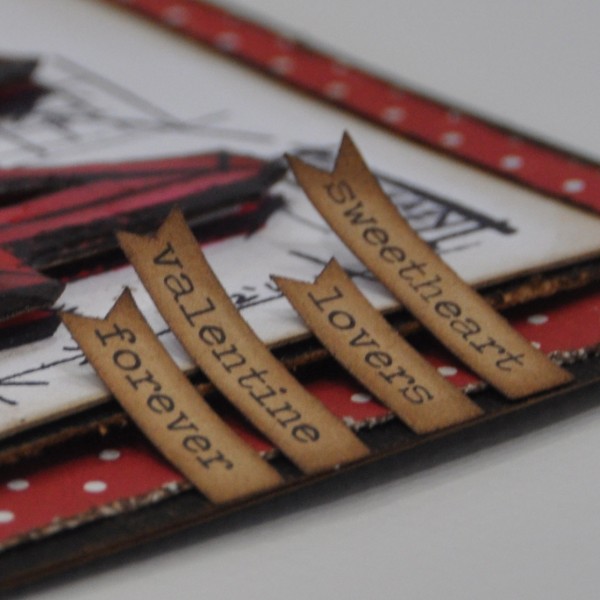
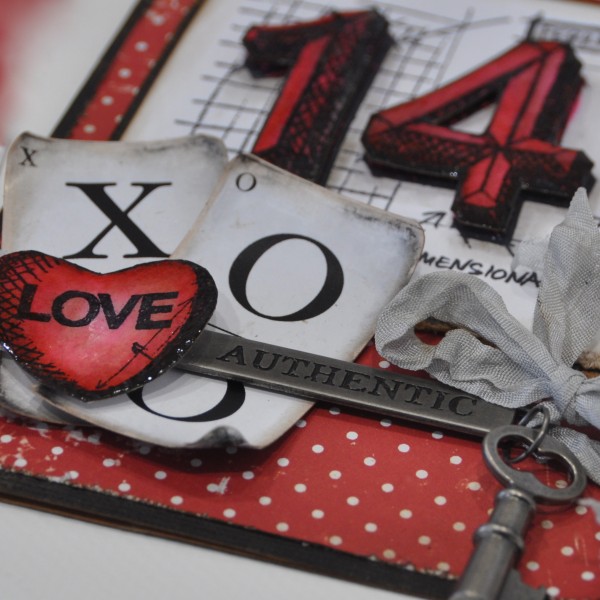
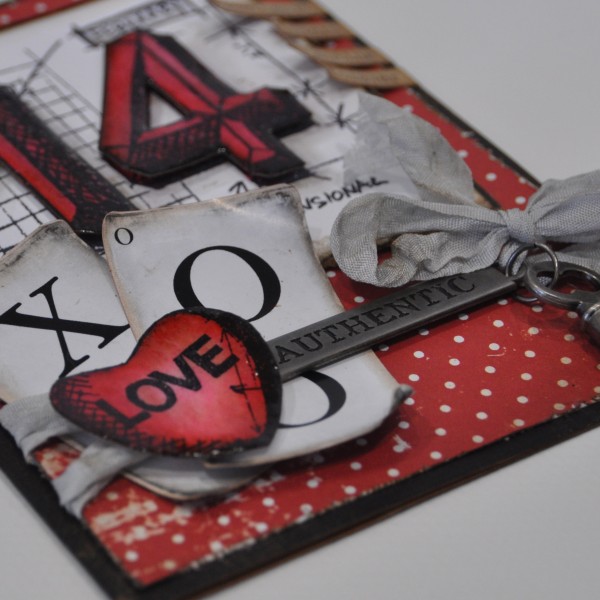
Repeat as necessary to color the ribbon. Dry with a Heat Tool and crinkle the ribbon as it dries. Tie the ribbon around the polka dot paper with the Word Band. Tuck the “X and O” Alpha Cards behind the ribbon with foam tape behind the top portion of the little cards. Add the little heart with foam tape. Attach the Locket Key with a Jump Ring to the Word Band. Use foam tape to adhere to base card. Use Chit Chat to add some special words for your sweetheart. Cut a V out of the Chit Chat and ink the edges. Adhere to card. Apply Glossy Accents to the “14 and the little Heart”
Tip – apply a bead of glue to the outside and then ?ll in. Let dry.
Happy Valentines Day! I hope you will make a card for someone special.
Thanks for stopping in! Have a great day!
Richele
SUPPLIES:
 |
 |
 |
 |
 |
 |
 |
 |
|
 |
 |
 |
 |
 |
 |
 |
 |
 |
 |
|
 |
 |
 |
 |
 |
 |
 |
Thanks for reading today, and thanks so much to Richele for being our guest!
Blog Candy Alert!! Follow our blog via email and comment on this post for a chance to win a special blog candy!


Great card! TFS :)
Super sweet Valentine! I love Richele’s style!
This is so super cute!
I love how the number 14 is featured and the wee tags on the right hand side.
Love the dimension you have on the numbers. Great card. Lovely embellishments
I’m always a sucker for a vintage valentine! Wonderful card!
Love seeing “14” take center stage on a Valentine!
Such great embellishments on this card!
Love this! So very inspiring.
This is totally and completely not my style but I love it! Every time I look at it I notice another detail. It’s gorgeous!
Fabulous card…LOVE eit!
*it!
Isn’t that a fun look?
‘Love the layering….your card is so cute, Stephanie!!