Studio Monday with Nina-Marie: Adding Dimension to Solid Stamping
Hello friends! Its Nina-Marie here with you today for a new Studio Monday video! This week I am featuring Reverse Confetti stamps and dies as I show you how to add some simple dimensional details to solid stamped images.

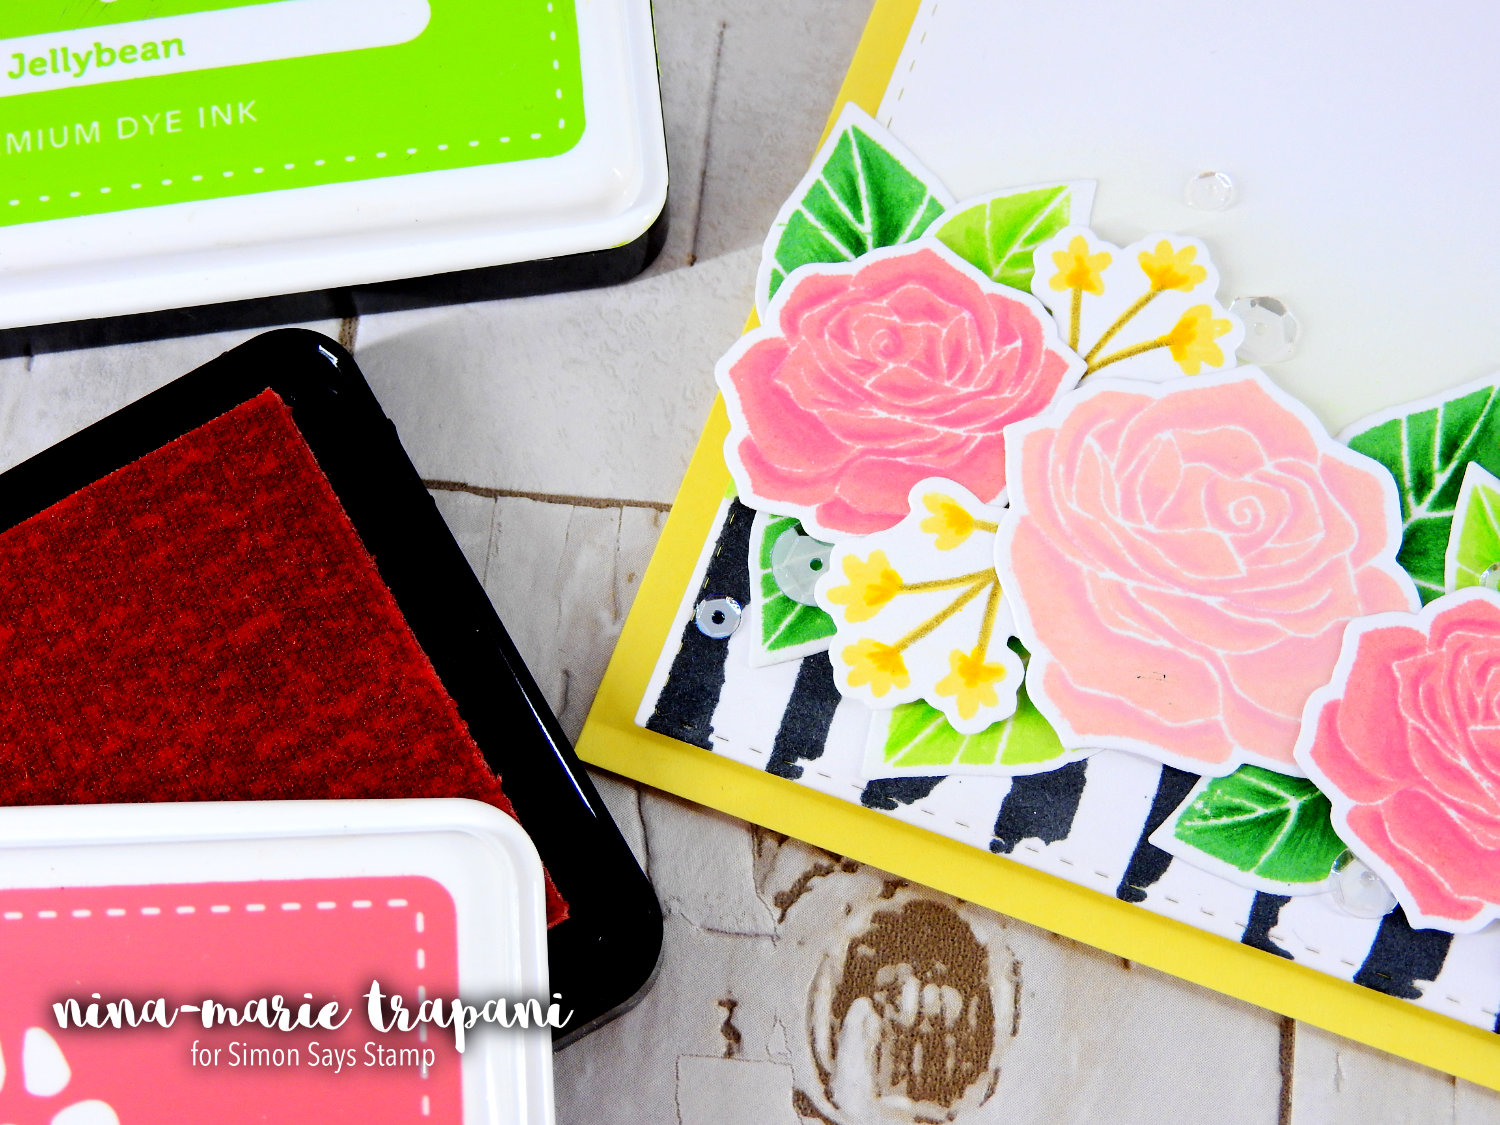
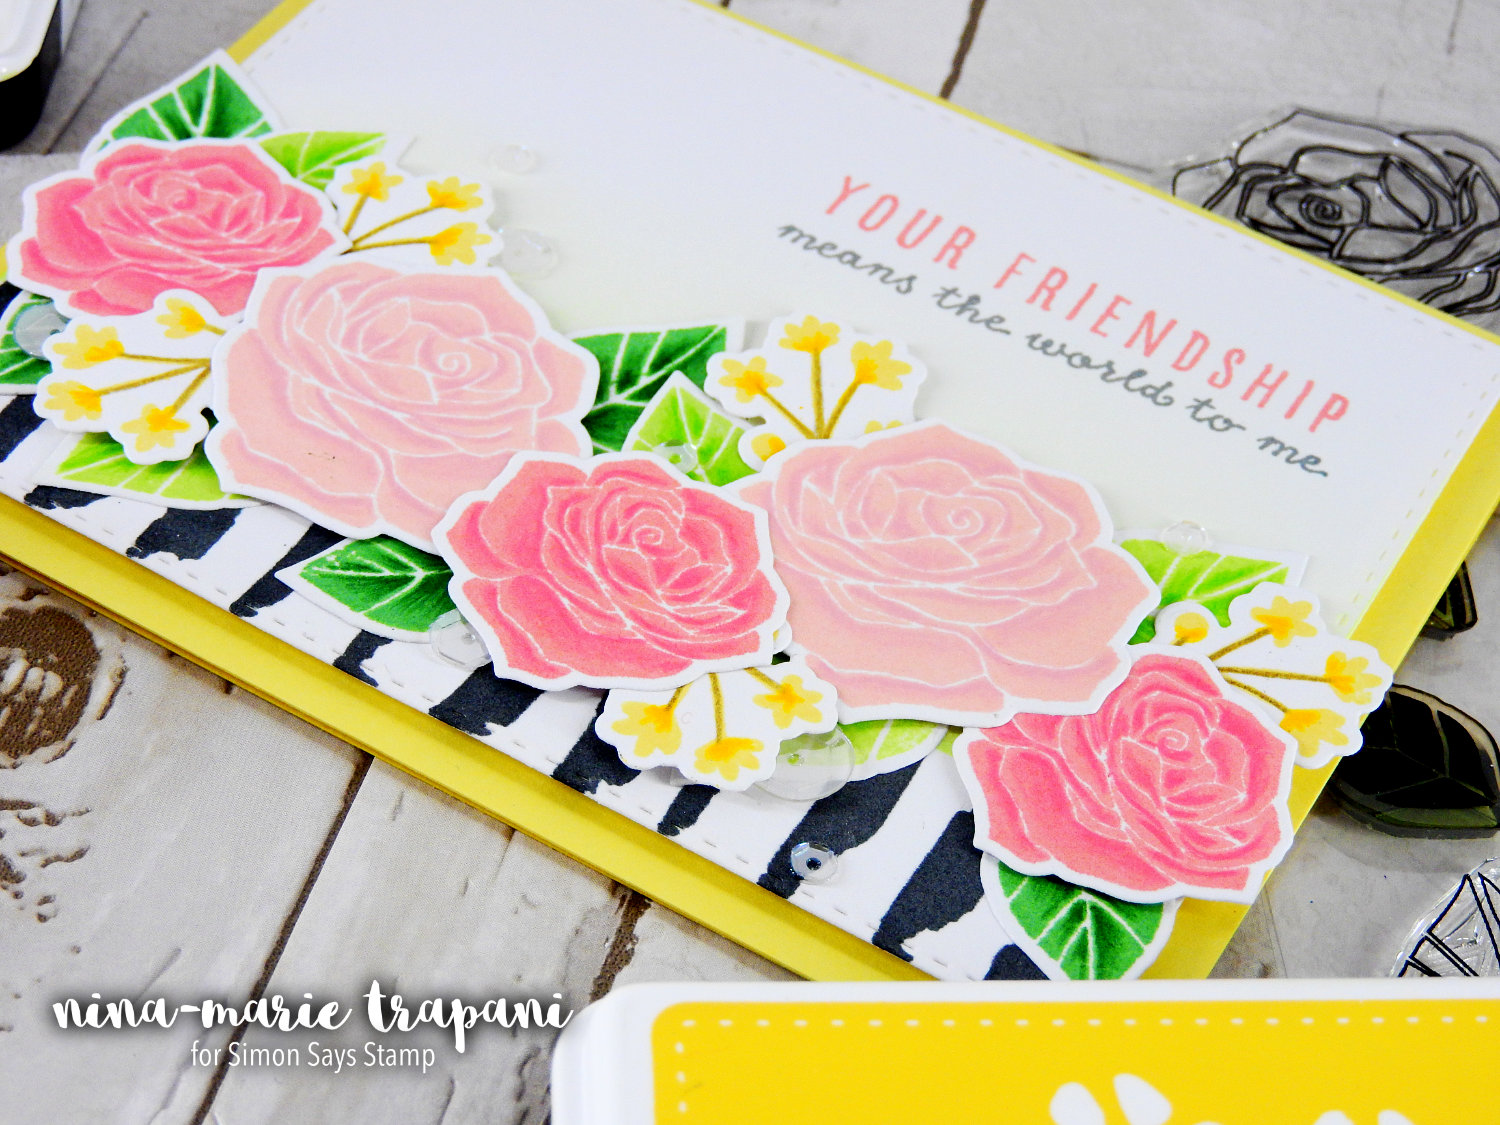
For this technique I used Prismacolor colored pencils to add dimensional shading to the flowers and leaves I stamped using Reverse Confetti’s Rose Garden stamp set.
These roses are beautiful stamped in a single color of ink, which you could definitely do. But I love to add more interest to my stamping, so by using the colored pencils to create depth, I was able to achieve a more realistic effect.
For those of you interested in the ink colors I used, I chose: Rose Apple and Teeny Bikini for the roses, Duckling for the floral sprigs, and both Jellybean and Fern for the leaves.
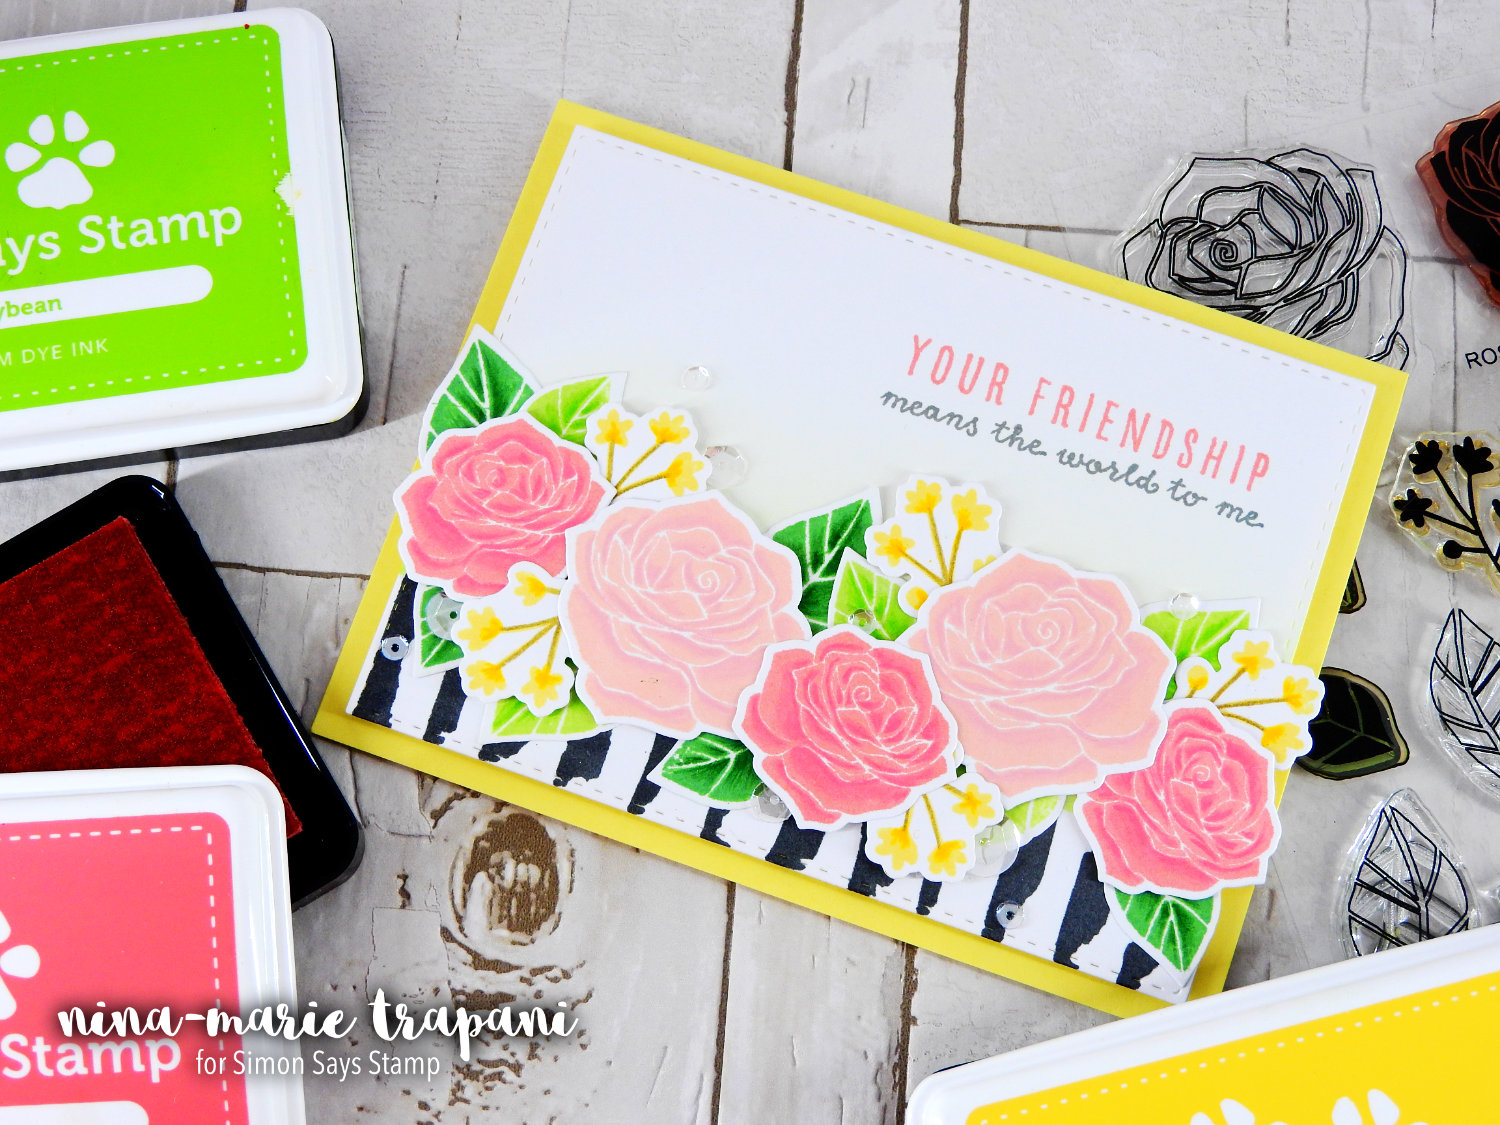
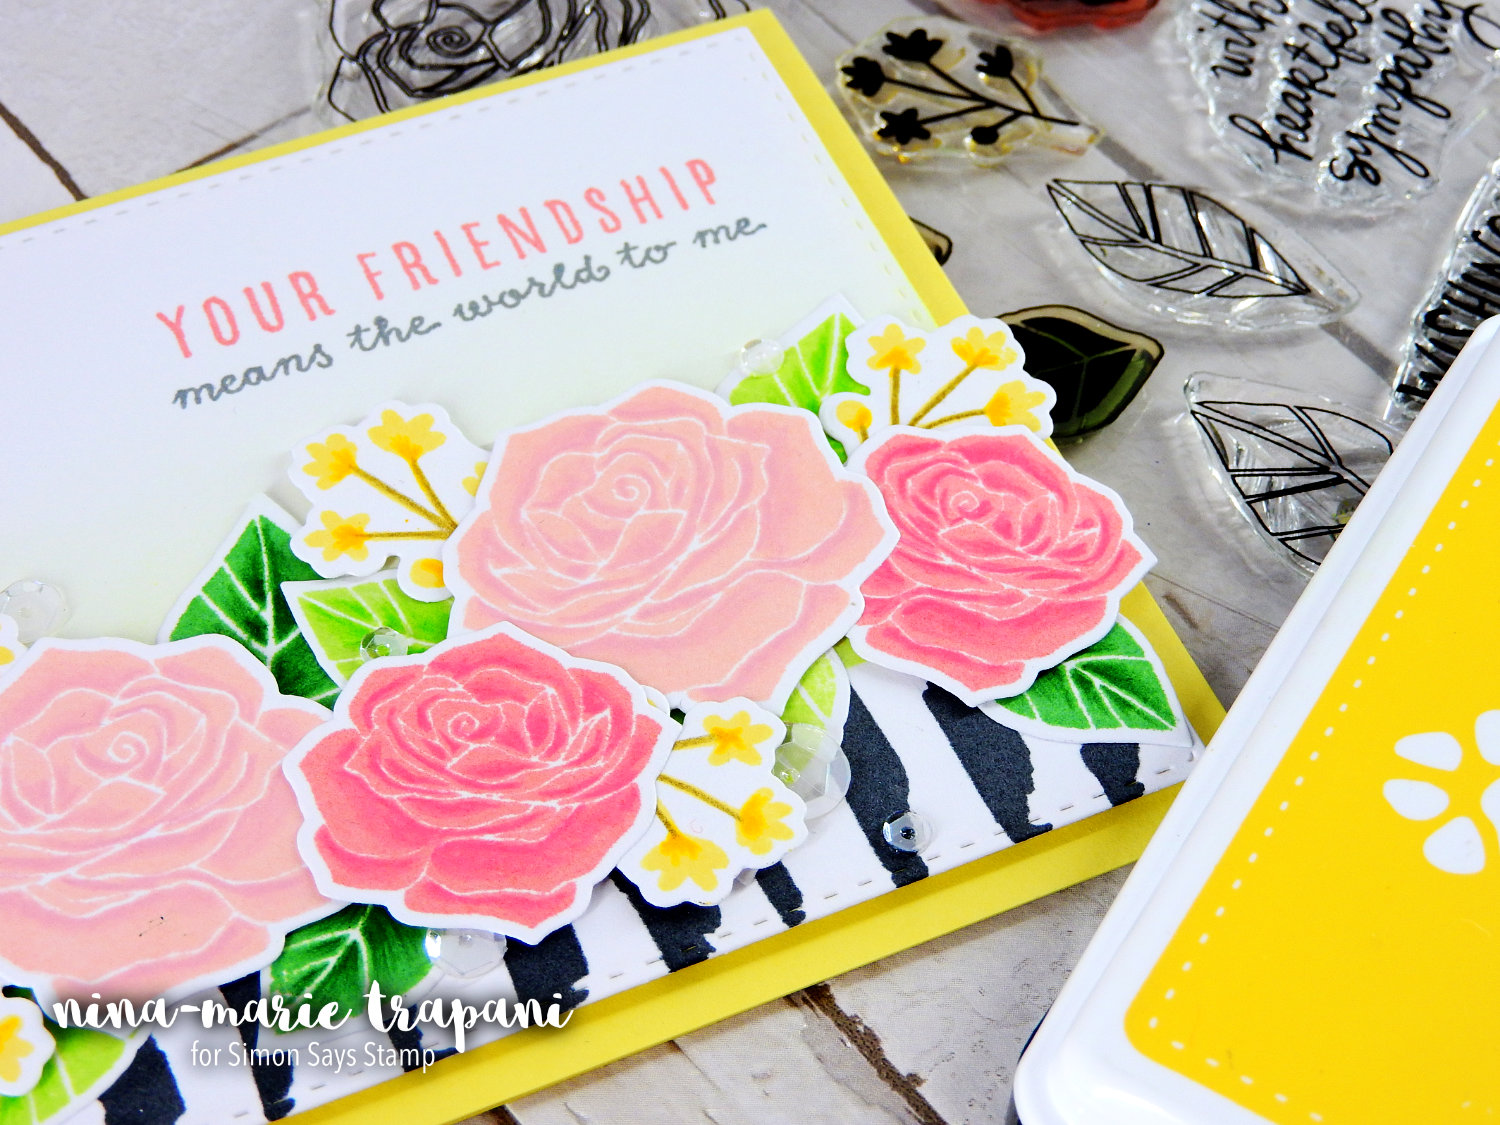
The sentiment you see here is from another Reverse Confetti set called A Friend Like You. I used both the Rose Apple and some Slate Gray ink to stamp the sentiment.
For the background of the floral arrangement, I created stripes with a Copic marker and ink blended a bit of Jellybean ink. To embellish the card I sprinkled a few Sparkling Clear sequins from Pretty Pink Posh in between the roses for a bit of shine.
I hope you will be checking out the video to see how I created the dimensional roses! Thanks for stopping by and visiting me today… I’ll be back again very soon!
WATCH THE VIDEO
SUPPLIES
 |
 |
 |
 |
 |
 |
 |
 |
 |
 |
 |
 |
 |
 |
 |
 |
 |
 |
 |
 |
 |
 |
Blog Candy Alert!! Follow our blog via email and comment on this post for a chance to win grab bags and blog candy! Remember to tag your awesome projects with #simonsaysstamp on social media so we can see what you are creating!


So pretty , I’m going to watch this video again and again ?
Very pretty. I like how you used pencils to add dimension.
I have several stamp sets that have solid stamped images and they don;t have the layers like some of the newer stamps have. What a great idea to added more depth to the images. I never would have thought to add marker or colored pencil. Beautiful inpsiration that you’ve created. Thanks for the video!
Lovely card and I the way you added the dimension by using colored pencils. Thanks for sharing.
Linda D.
What a great idea using pencils for shading. The black and white stripes hint at piano keys. Very well done. TFS!
Those stripes look like a weathered fence and is wonderful with the softness of the flowers. Love it! Thanks for sharing.
Beautiful card, your layering is fab!
So pretty and great technique!
Great way to add some dimension!
Thanks for the video. You make it look easy enough that even someone like me could get good results.
What a stunning card and the video is very helpful to a visual learner like myself. Thank you so much.
Wow!!! Great dimension!!! Soooo Beautiful!!!
such a pretty card and lovely coloring!
Awesome tip and beautiful flowers! Thanks for sharing!
Beautiful card, love how you made the lines with the Copic marker, nice idea!! Love the flowers and how you did the shading with the colored pencils, very pretty. Thanks for sharing .
Gorgeous card!
Beautiful card, great tips.
Beautiful coloring
and stamping!Happy
first day of Spring.
Carla from Utah
Thanks for a great card idea and the reminder to mix up our colouring mediums for even more impact!
Such a pretty card! Thanks for teaching me how to use colored pencils for the added dimension!!!
Beautiful card and a great tip.
Beautiful card, the added step with colored pencils made a huge difference! Thanks for your video and inspiration!
Beautiful card, love the flowers.
Great video, Nina! I especially love how you made your stripes–can’t wait to try that!
I love all of the dimension and bright colors on the die cut flowers. It would put a smile on anyone’s face.
Love the use of color pencils. Very nice.
awesome ideas! thanks for sharing :)
Simply beautiful card!
Simply gorgeous!
Awesome flowers, coloring and cards. Thanks for all the great tips you give us!
Beautiful! Thanks for the great tips!
Cute card. Love the flowers.
Wonderful floral creation with layers/dimension.
Melissa
“Sunshine HoneyBee”
Beautiful card and great video! Thanks again for so many great techniques and such great inspiration!
I love the ink colors you used on this card
Beautiful card. Loving the dimension and the yummy colors ♥
So very pretty!!, beautiful arrangement and lovely color combinations!!
Beautiful card., Nina! Loved all the tips! Thanks so much!
Pretty card. The layers rose stamps give such an amazing image.
SUch fun!!
This card is just so beautiful – I love the bright colors and the dimension added to the flowers, but my favorite part of this card is the striped background panel – I love, love, love it!
Thank you so much for sharing!
Gorgeous! The pencil shading makes for perfect dimension.
Love this beautifully feminine card!
Beautiful card!
Your card with the beautiful roses is just lovely! Thanks for the tips on how to add dimension!
Very pretty card Nina-Marie!
love the use of black on this card. . . makes it POP!
So pretty… love those roses!
Love the softness of this design on the images and using colored pencils always adds such great dimension. Thanks for sharing.
Gorgeous card! Love the dimension the colored pencils give to the stamped flowers.